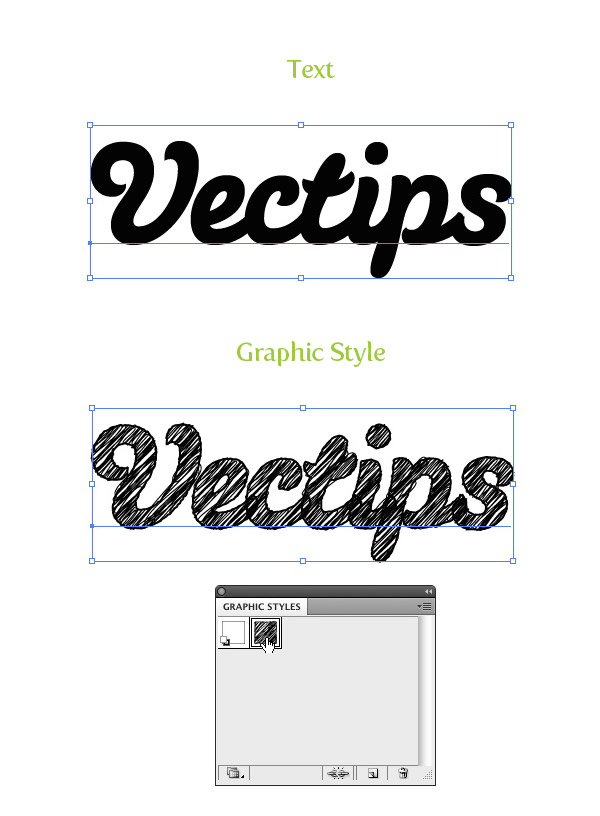
Final Image
Below is an example of the sketchy text we will be creating.

Step 1
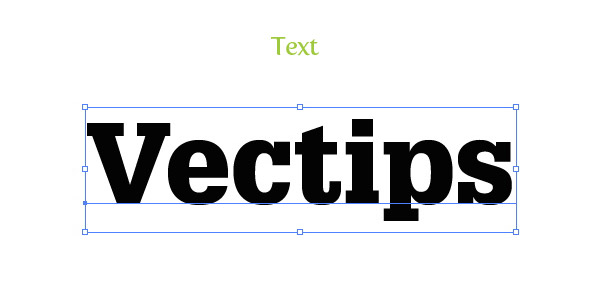
Create a new document and with the Text tool (T), type out some text with the with the font of your choosing. I am using Glypha Black as my font.
Step 2
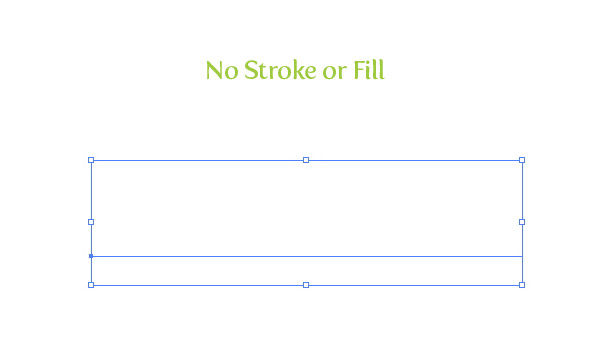
With the text selected, take off any stroke and fill. We are going to add a stroke a fill separate from each other in the Appearance panel in the next couple of steps.
Step 3
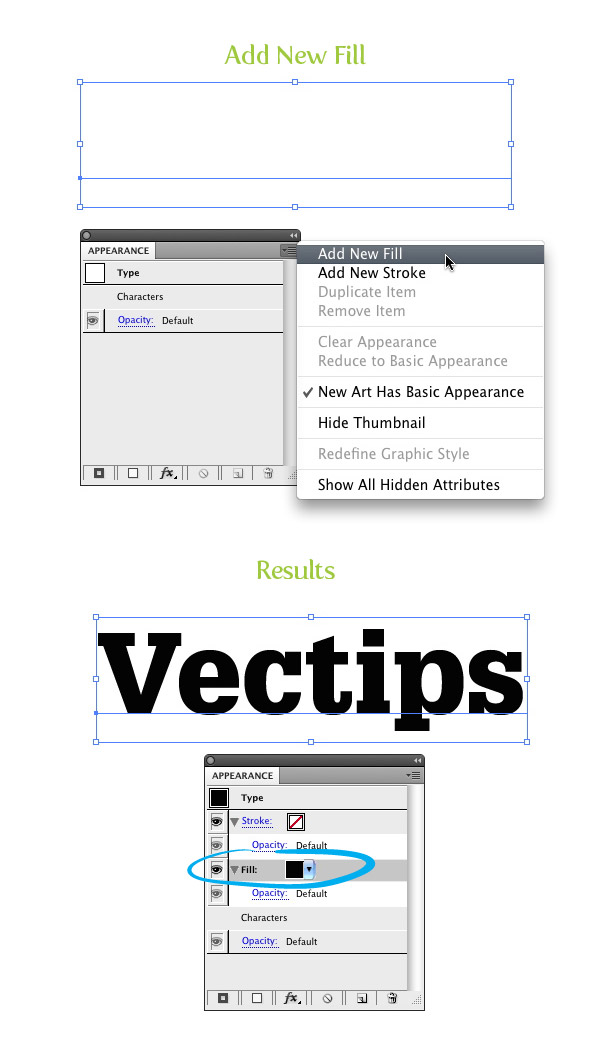
With the no fill and no stroke text selected, open the pop-up menu in the Appearance panel and chose Add New Fill. Keep the default black color of the fill.
Step 4
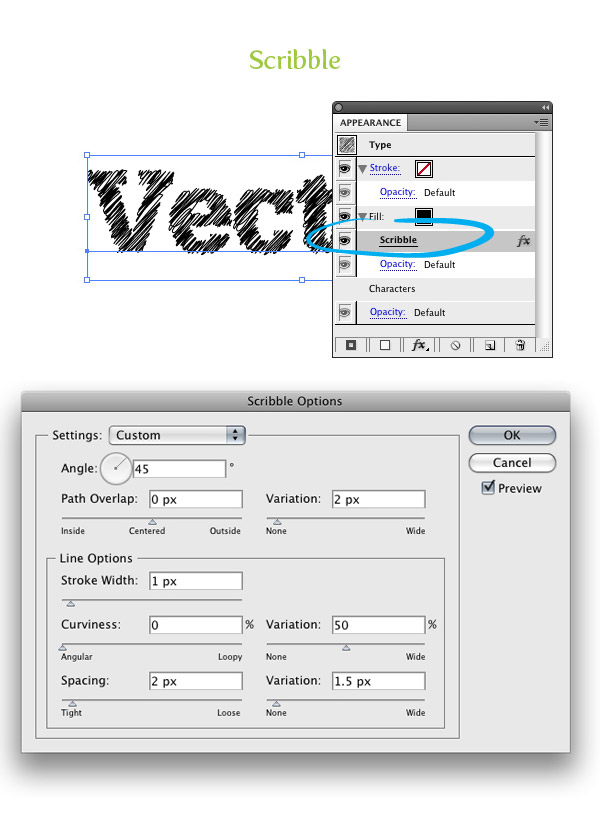
Select the new fill in the Appearance panel and go Effect > Stylize > Scribble. With the Scribble Options dialog open, change the Angle to 45, the Path Overlap to 0 px, the Path Overlap Variation to 2 px, the Stroke Width to 1 px, the Curviness to 0, the Curviness Variation to 50, the Spacing to 2 px, and the Spacing Variation to 1.5 px.
Step 5
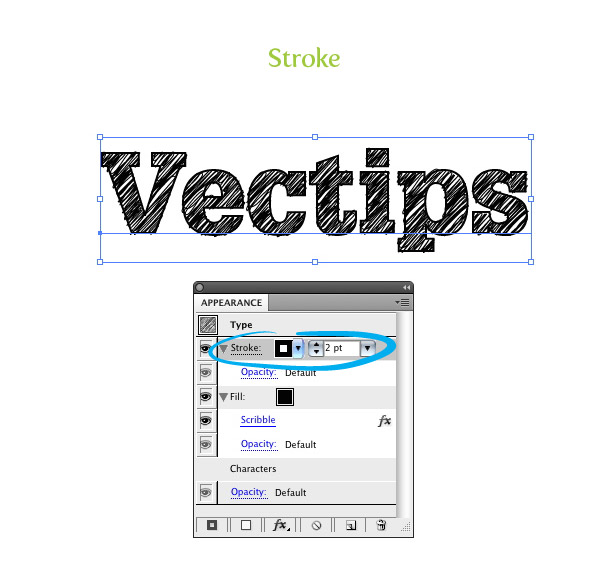
Select the Stroke option in the Appearance panel and give the text a 2 pt stroke.
Step 6
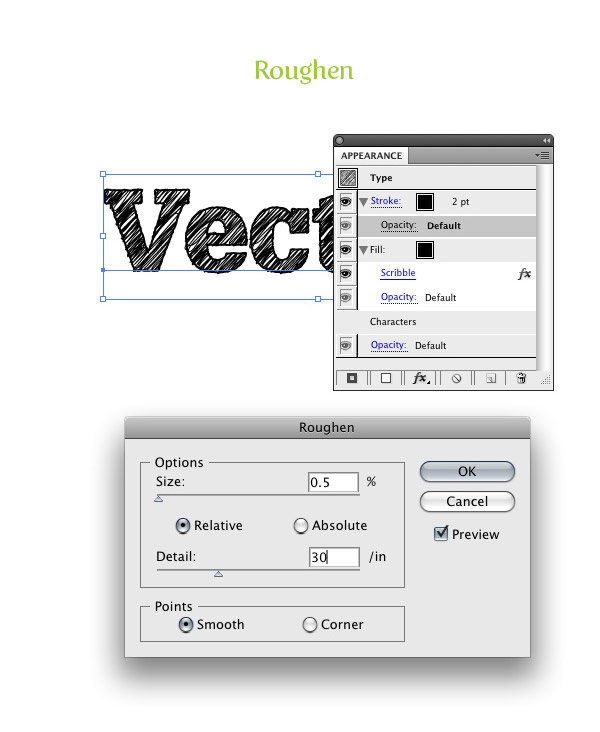
With the Stroke still selected in the Appearance panel, go Effect > Distort & Transform > Roughen. In the Roughen dialog, change the Size to .5, select the Relative radial button, change the Detail to 30, and select the Smooth radial button for Point. This will give the stroke a little distress.
Step 7
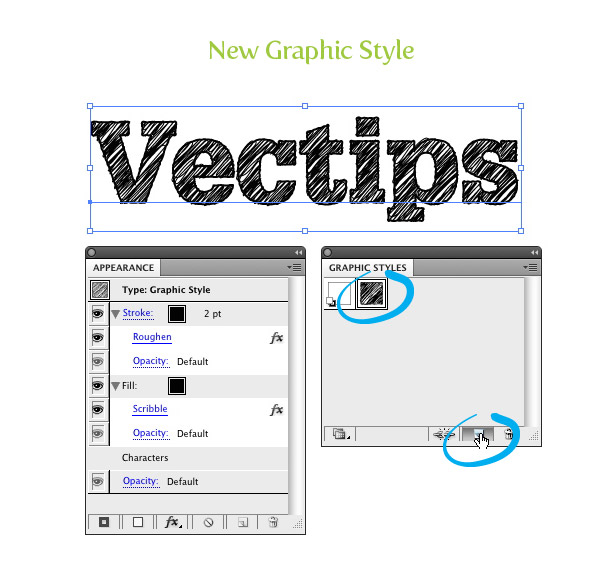
Now, we have a custom sketchy font. Moreover, you can easily edit the font! To make this technique even more useful, let’s create a Graphic Style so we can quickly apply these effects to other fonts and text. First select your font and take a look at the Appearance panel. You can see all the effects in your type. Now, simply press the New Graphic Style Button in the Graphic Styles panel!
Step 8
Now type out some more text and change the font. With the text selected, press the thumbnail of your new sketchy Graphic Style and see all the wonderful sketchy results!
