

Final Product What You’ll Be Creating
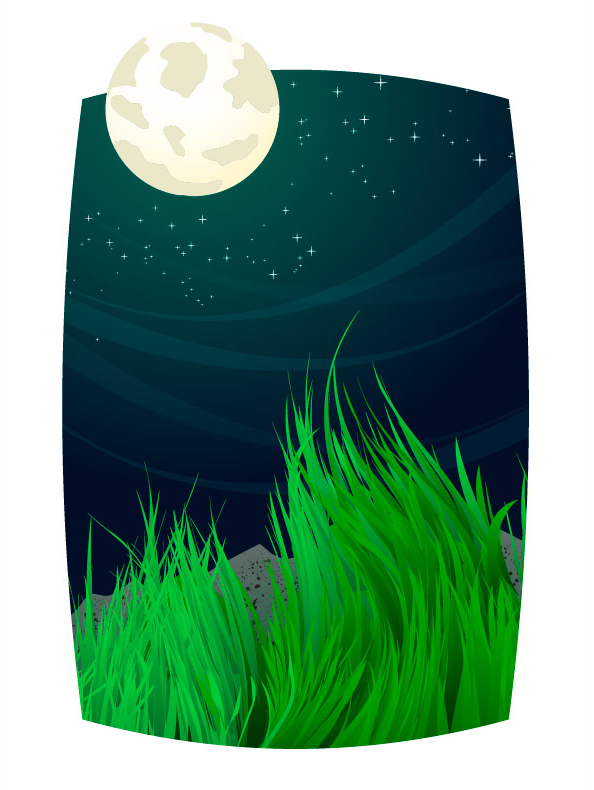
This tutorial will show the intermediate Adobe Illustrator artist how to make a dramatic landscape environment. You should have a basic understanding of Adobe Illustrator tools before you begin this tutorial, as the tutorial moves at a rapid pace.
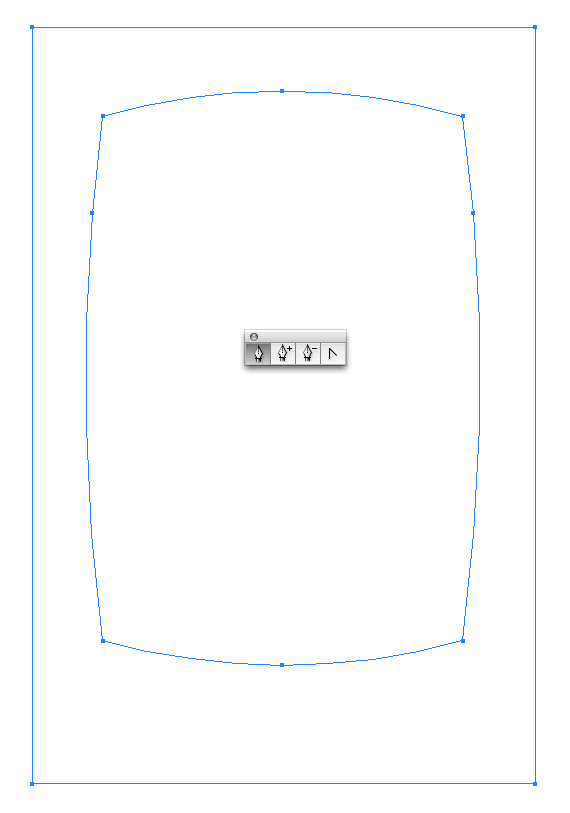
Step 1
Start by drawing a matte that will cover the edges of the artwork. Put this artwork on its own layer and move it to the top of the Layers Palette.
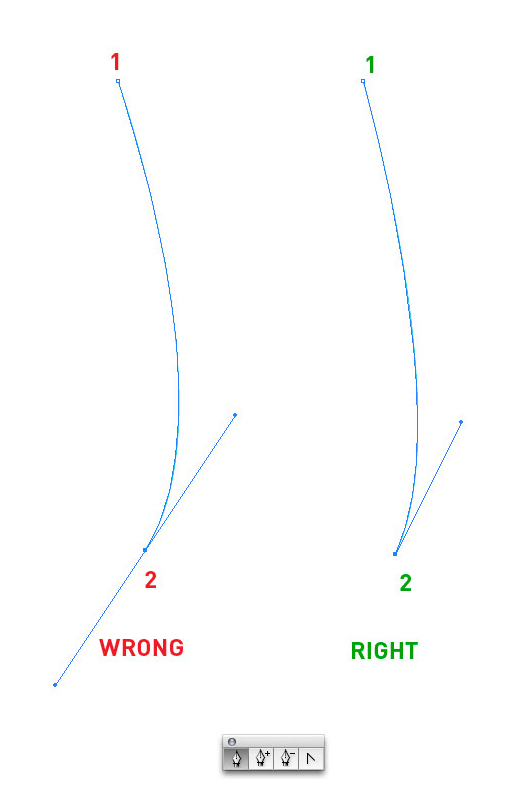
Step 2
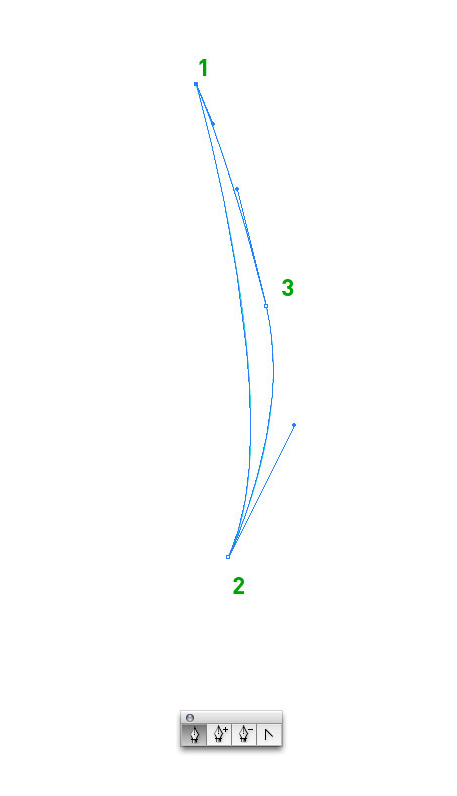
Easily make smooth grass using this technique. Using the Pen Tool, draw a slightly curved line. The trick to getting your lines flowing nicely is once you draw point 2 you have to click on that same point once more. In the "Wrong" diagram point 2 wasn’t clicked after it was drawn. In the "Right" diagram, point 2 was clicked after it was drawn.
You simply click using the Pen Tool, you don’t have to switch tools or anything. The reason you click twice on the same point is because the next point drawn will be directed back toward the top near point 1.
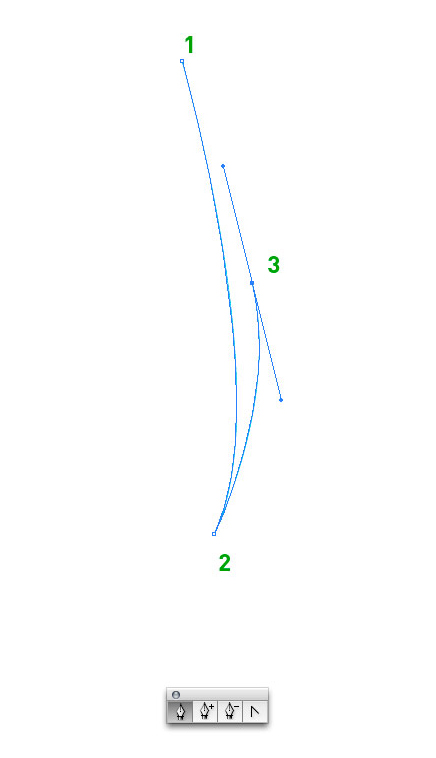
Step 3
It’s better to draw a 3rd point instead of just going from point 1 to point 2 and back to the top (unless you’re fairly handy with the Pen Tool).
Step 4
Now close the shape by going from point 3 to point 1.
Step 5
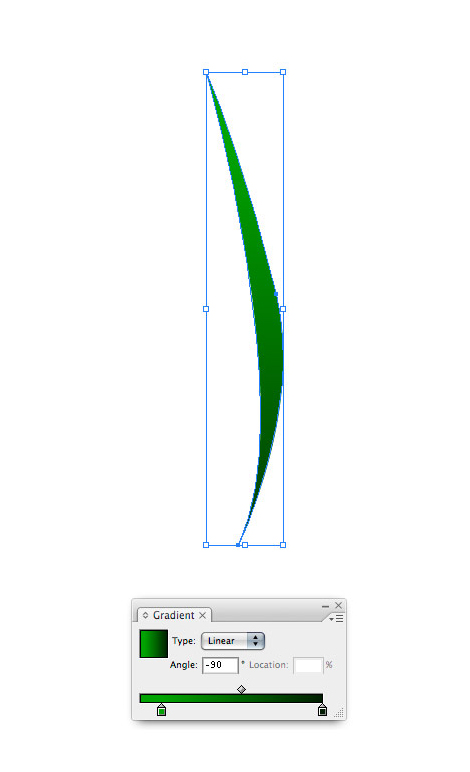
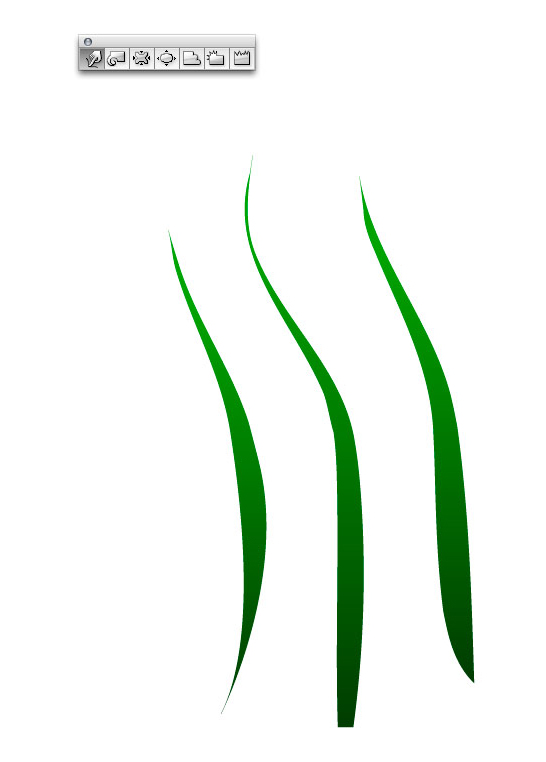
Fill the grass with a gradient.
Step 6
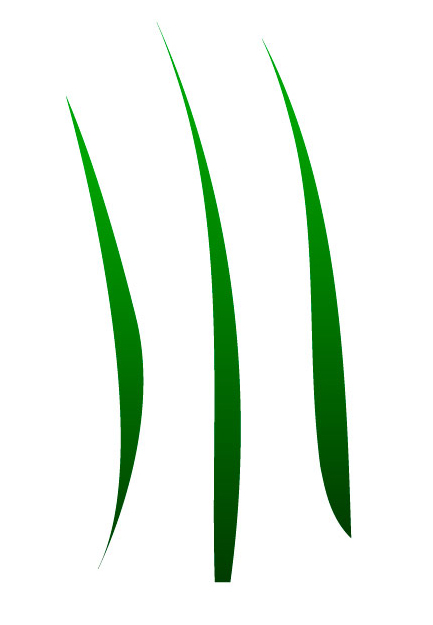
Draw several more grass shapes that are slightly varied.
Step 7
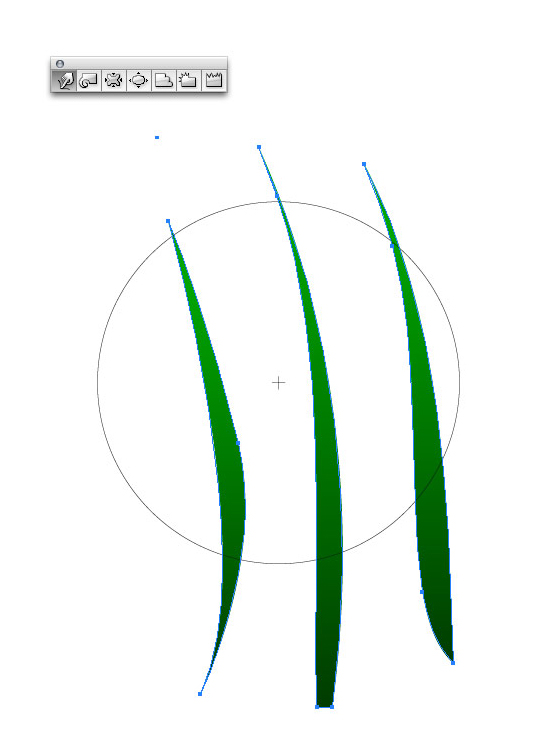
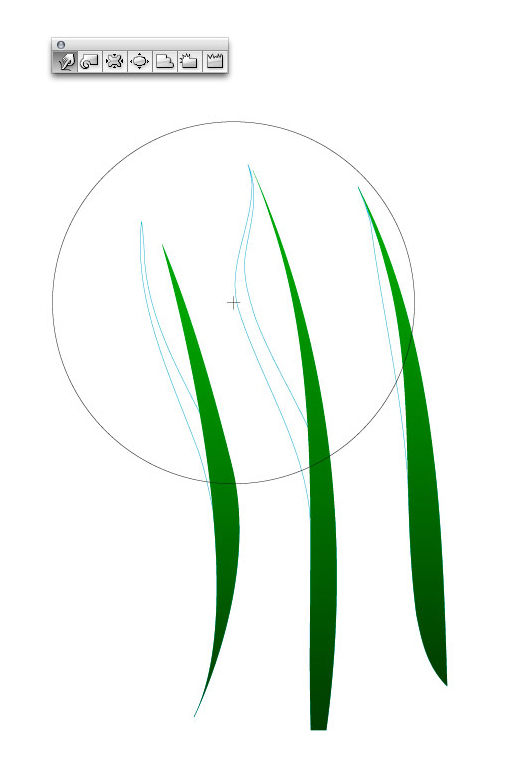
We achieve the curvy or windy effect by using the Warp tool.
Step 8
Select all of your grass shapes. Then click and drag over your grass to distort it. It’s like painting, the further you drag the mouse, the more distorted the grass will become. The blue lines indicate how the grass will look once distorted.
Power Tip: Change the size and pressure of the distortion ring by double clicking on the icon in the palette.
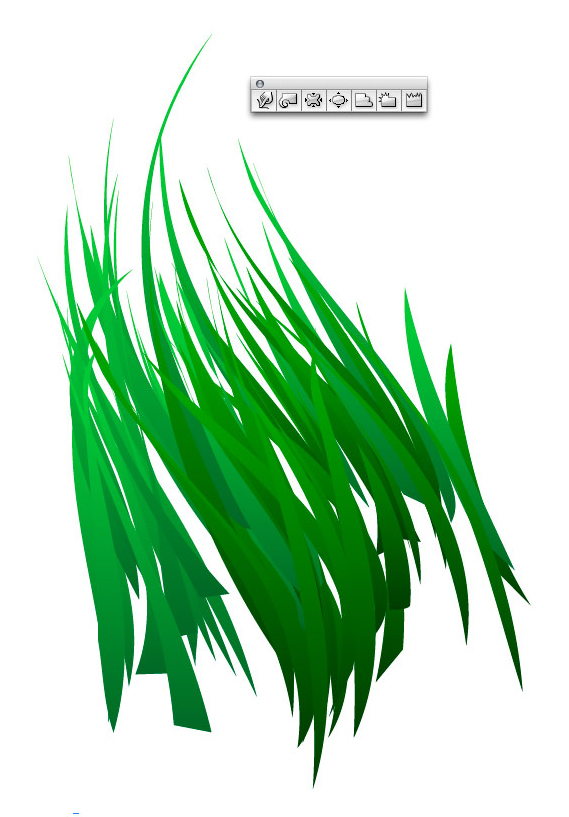
Step 9
This is what the distorted grass looks like. You can distort the grass as many times as you like. However, the more distortion you do, the more likely the grass will become jagged and rough. So, adjust your pressure and size instead of distorting multiple times.
Step 10
Select a few blades of grass and vary the colors. Then copy and paste your grass shapes to quickly build up large areas.
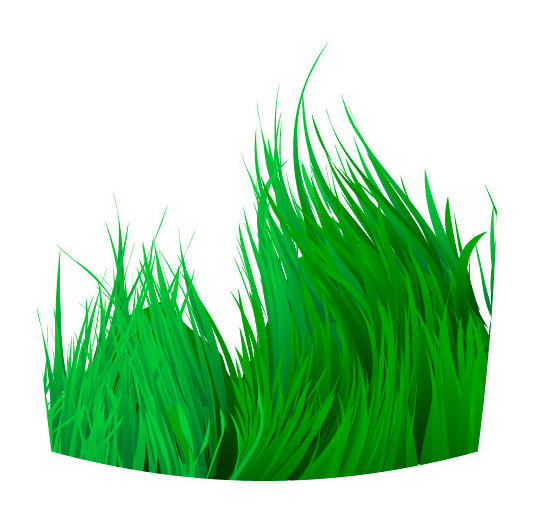
Step 11
Notice how there are subtle color differences in the grass. This adds to the interest and realism of the grass.
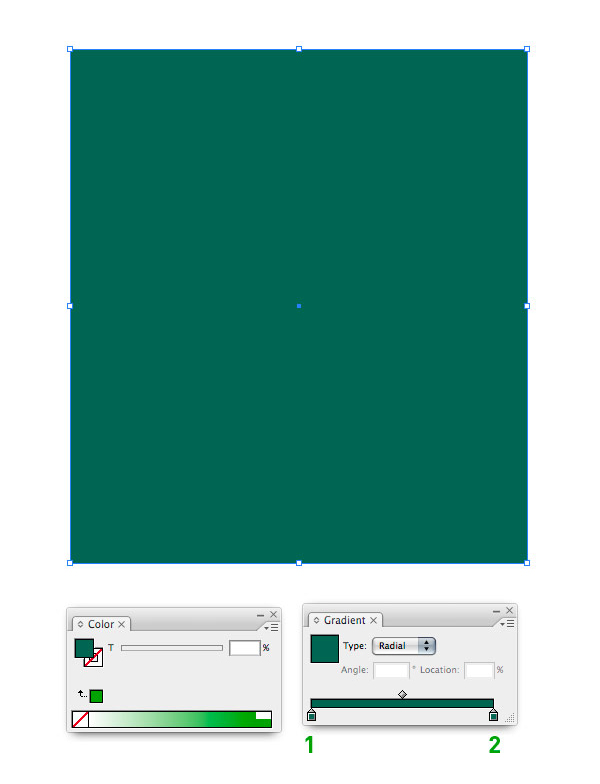
Step 12
Draw a rectangle and select a moody green color. This rectangle will become the sky so it needs to have a gradient. The secret to making gradients transition smoothly from one color to the next is to start by making two of the same color points in the gradient palette (colors 1 and 2 are identical.)
Step 13
Select color 2 and change the slider shown at number 3 to achieve a smooth color shift.
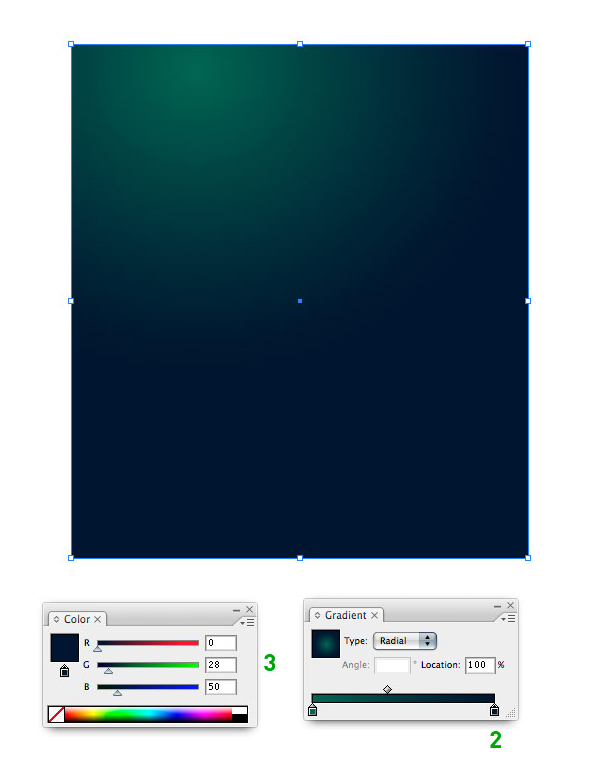
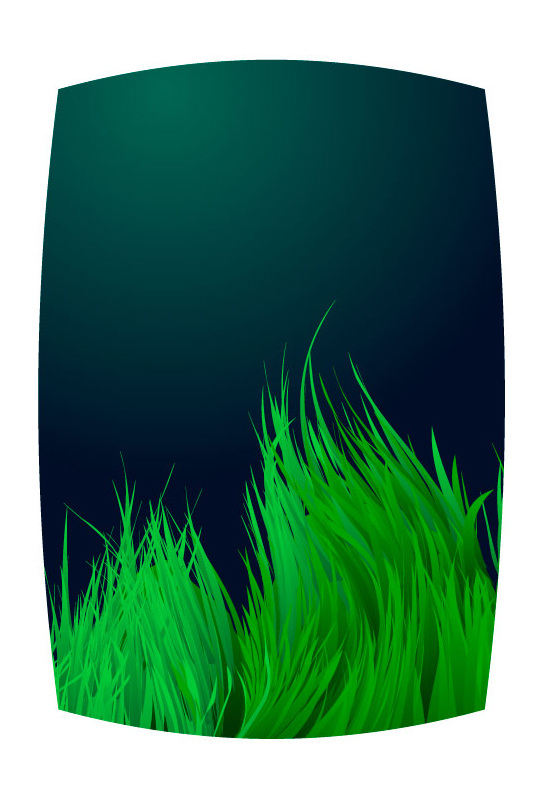
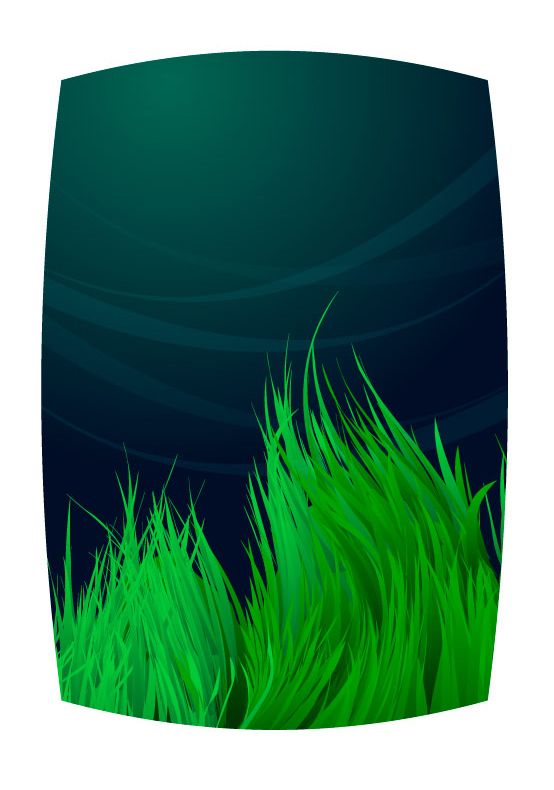
Step 14
This is what your sky should look like.
Step 15
Copy and paste a blade of grass.
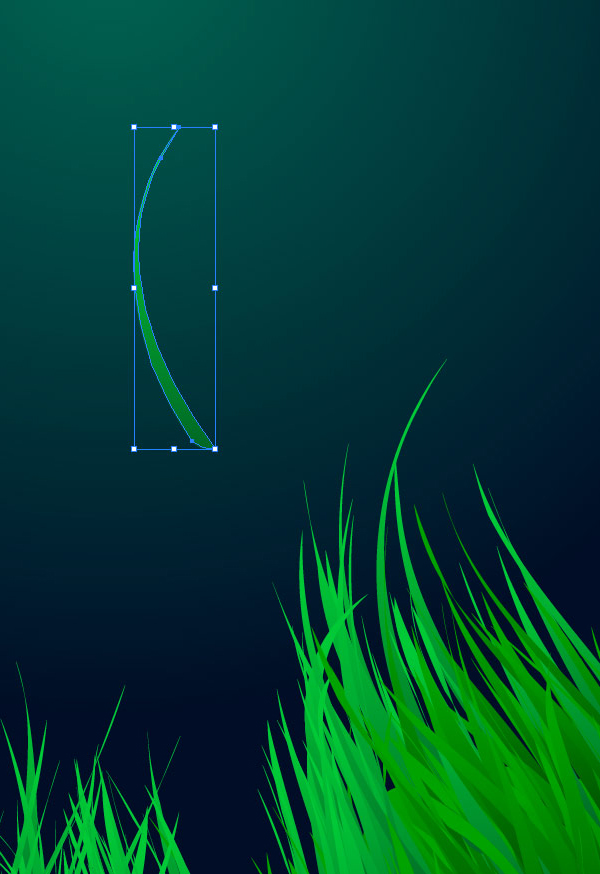
Step 16
Use the grass to make wispy shapes in the sky. Adjust the Opacity so that the shapes blend into the background.
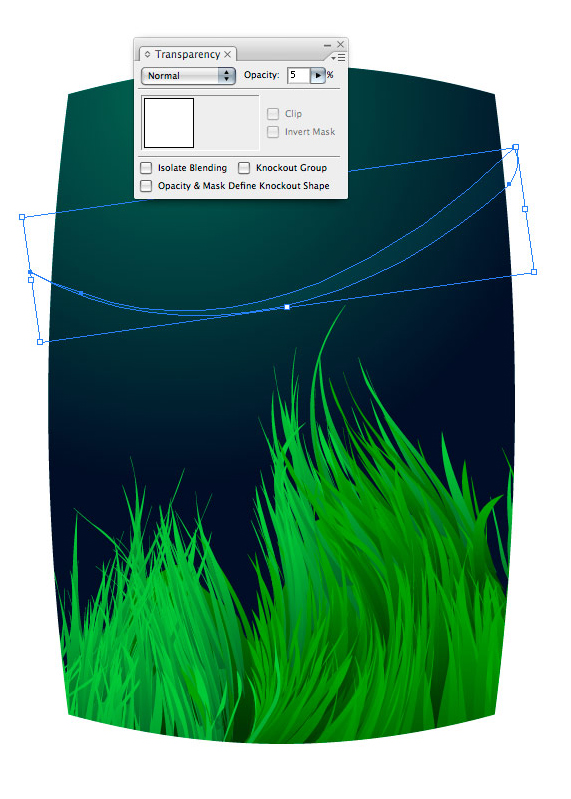
Step 17
Copy and paste a few more grass shapes and vary their placement.
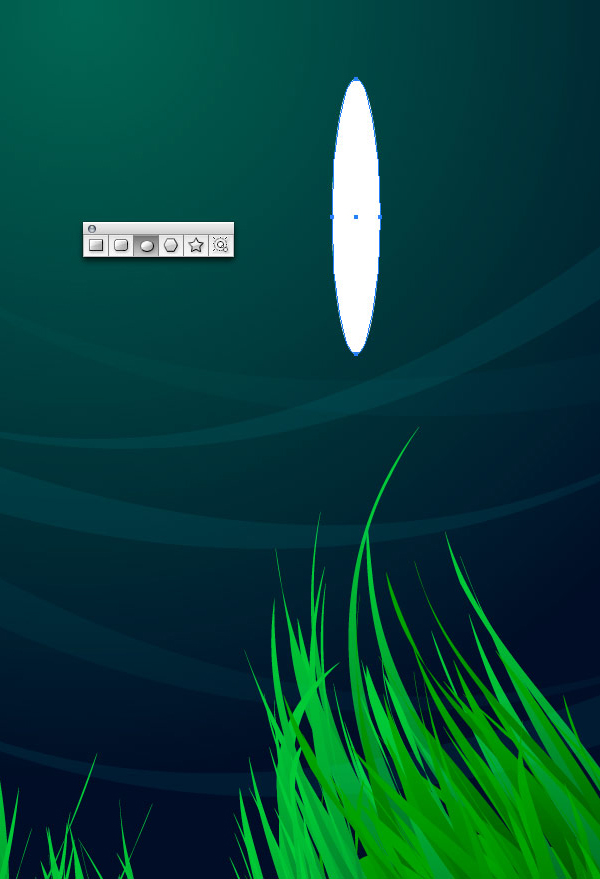
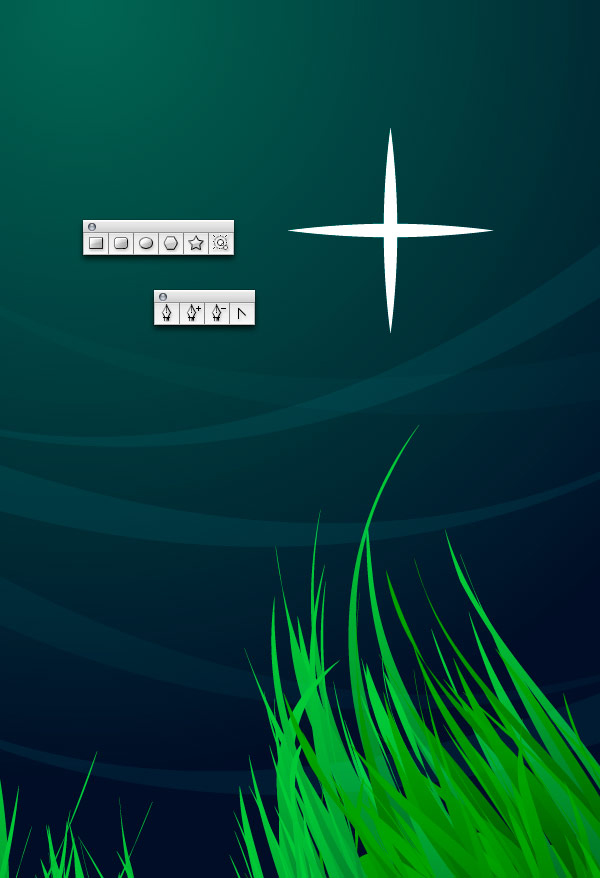
Step 18
To make the stars we’ll draw a narrow oval to start.
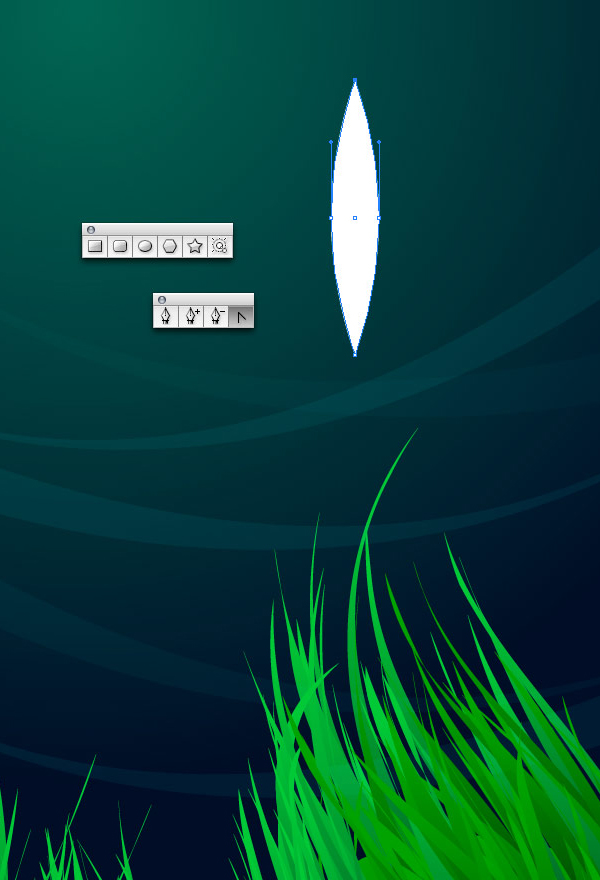
Step 19
Use the Convert Anchor Point tool and click on the top and bottom points of the oval to make them pointy.
Step 20
Compress the oval, duplicate it, and rotate it to make a star.
Step 21
Copy and paste the star making sure to vary the size.

Step 22
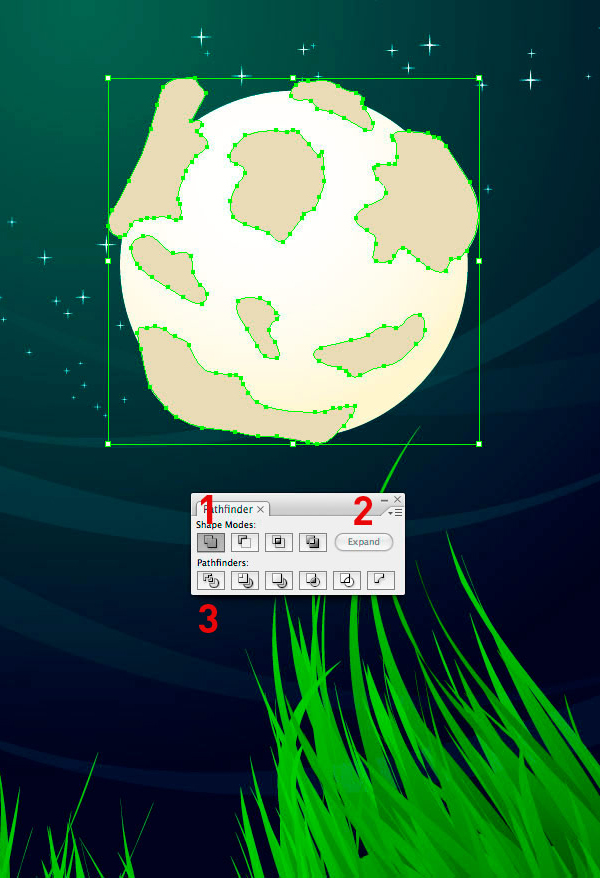
Draw a circle, which will become the moon. Using the Pencil tool draw arbitrary shapes that mimic the Moon’s craters. It’s OK to draw outside the Moon’s edges as we’ll eliminate the overlapping areas next.

Step 23
Using the Pathfinder Palette click the Add to Shape option to merge your individual Moon craters (1). After you merge them, click Expand (2). Select both the Moon and the newly merged craters then click Divide (3). Delete the unnecessary extra shapes from the edges.
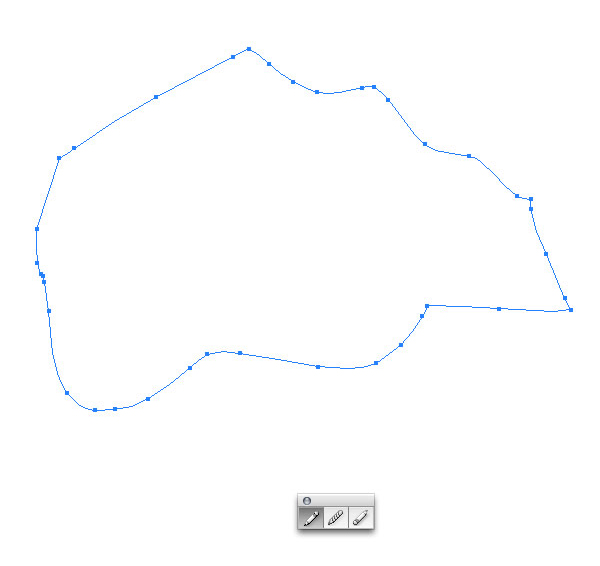
Step 24
Make rocks by using the Pencil tool and drawing rough shapes like below.
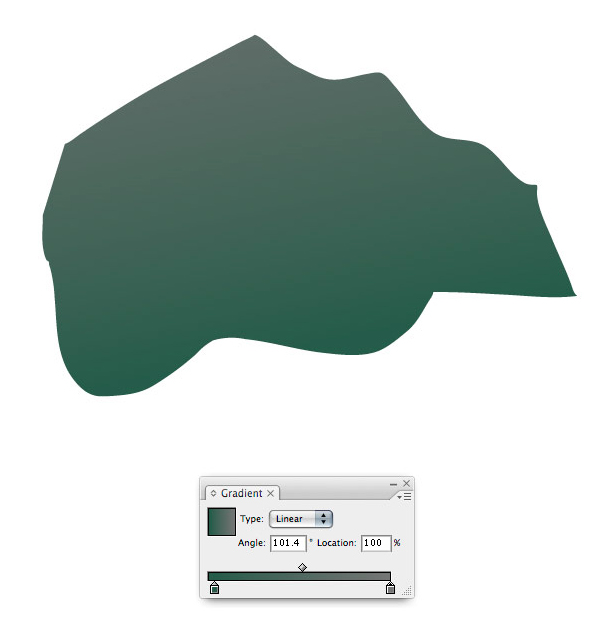
Step 25
Then add a gradient.
Step 26
Give your rock more detail by using the Artistic Ink palette (Window > Brush Libraries > Artistic > Artistic_Ink). For the example below, I’ve used Fire Ash Ink. Simply select the Pen tool, select the ink type, from the palette. Then draw a line (curved or straight). In order to see what you’ve drawn, make sure you have a stroke color specified.
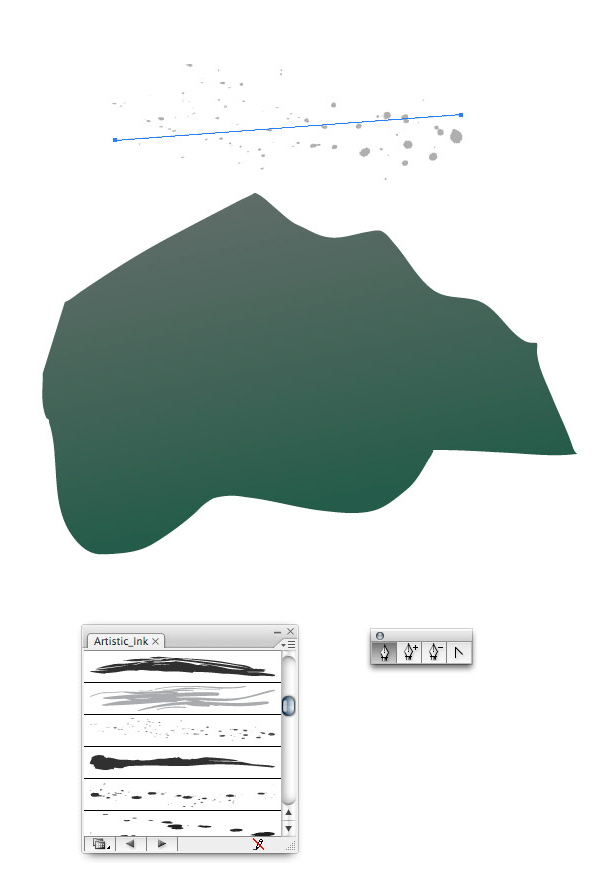
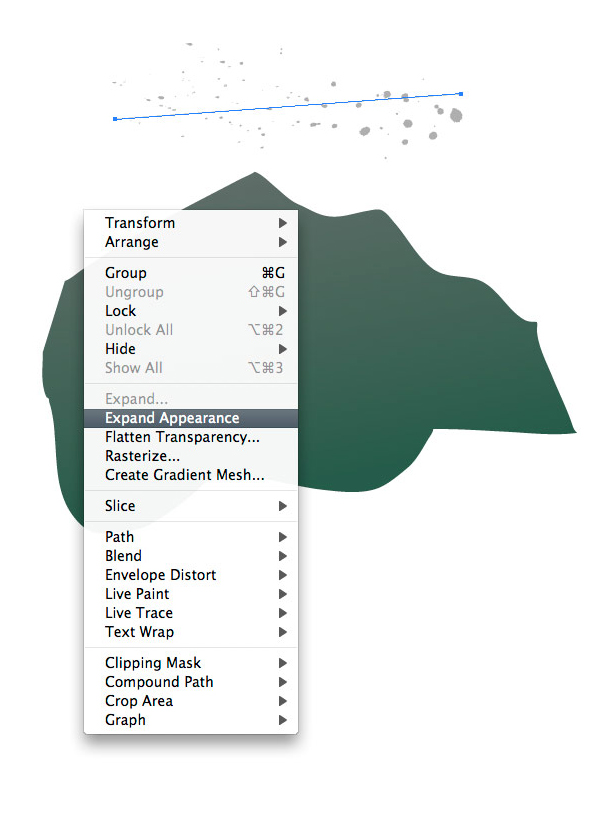
Step 27
In order to make the ink spots the color of your choice you need to do two things. First, expand the ink spot by selecting Object (from the top) then Expand Appearance.
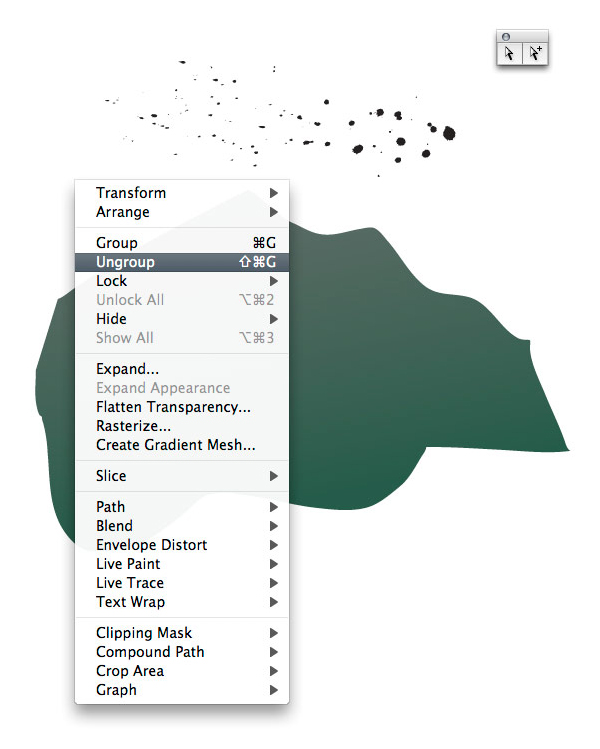
Step 28
Next go to Object (at the top) then select Ungroup. Keep Ungrouping the object until you cannot ungroup it any more (about 5 or 6 times.) Once you cannot ungroup it any more then you will be able to change the color of the ink.
Step 29
Duplicate the ink and arrange it to cover the rock.

Step 30
Move the rock behind the grass by copying and pasting the rock. Then vary the size shape to give the impression of different rocks.
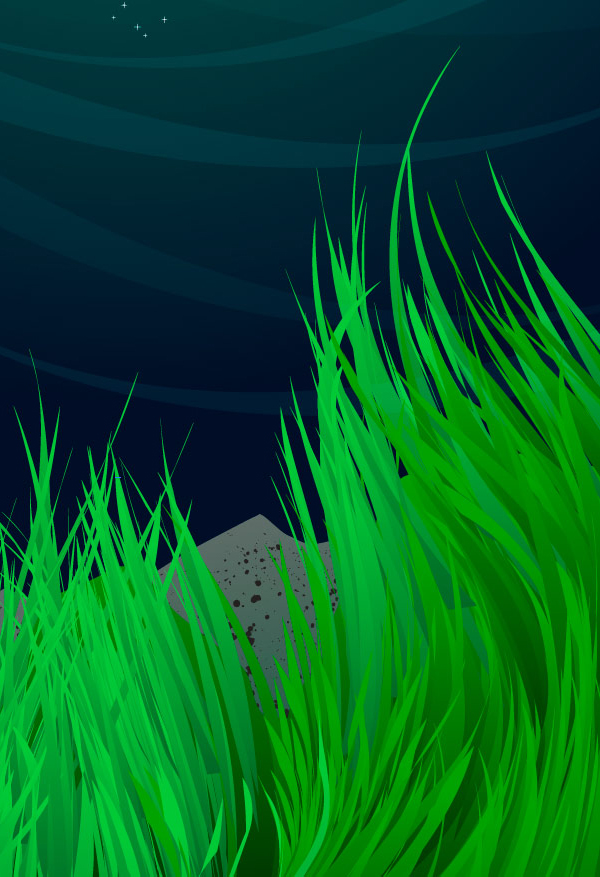
Step 31
Your dramatic landscape environment is complete!