
Step 1
Starting with just the basic shapes squares and rectangles i followed up my initial sketches to lay down the structure of the house nothing fancy just squares and rectangles.

Step 2
Selecting nodes started distorting the shapes and forms.

Step 3
Two shapes united to make further shapes

Step 4
Round up the corners of the stroke for a better formation

Step 5
Some details added to the windows


Step 6
Using my most handy tools vector brushes for strokes.

Step 7
Added some basic patterns to shapes , here i created a copy of the shape broght it forward and filled it up with the basic graphics dots swatch.

Step 8
Finished creating one window and copied and placed it on other locations as well.

Step -9
The brick wall detail was creating using Drawing brush strokes of different widths.

Step 10
Randomly placed grouped copies of the bricks.

Step 11
Time to color , i planned out the colors i would like to use .
ILLUSTRATOR TIP: Keep small shapes filled with your pallet on your work area easier to pick and fill with eye dropper tool. if you are lazy like me in creating swatches everytime

Step 12
Further coloring and shadows creation , i simply created duplicates of the shapes and placed them in a lower layer , with a darker color and reduced the transparency.

Step 13
Place Shadows against your imaginary source of light to give life to the object.

Step 14
Further details added a knob to the door , copies of circular shape in different shapes.

Step 15
Development of shadows and light continues


Step 16
Since i plan to place this house against a light blue background i placed an oval shape behind just to get the whole feel of the direction color harmony is going to . ( Knowing background will be developed in photoshop)

Step 17
We’re in photoshop now! copied and placed a little grass layer with copies of one symbol.

Step 18
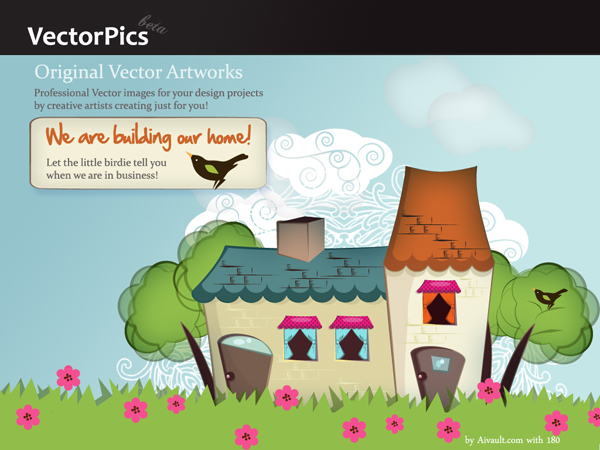
Added some cloud shapes . some text and extras like the little bird on the tree.


PREVIEW
