

In this detailed tutorial we’ll be learning how to create a Leprechaun’s shoe in Adobe Illustrator CS4 for the upcoming holiday, St. Patrick’s day. Combination of linear and radial gradients can be very useful for achieving nice results in creating realistic vector illustrations.
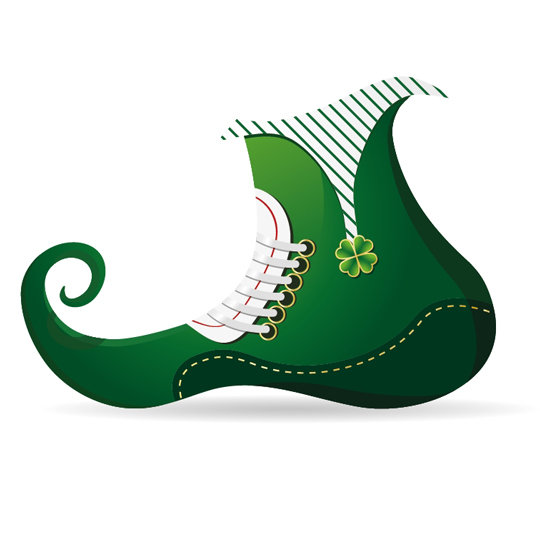
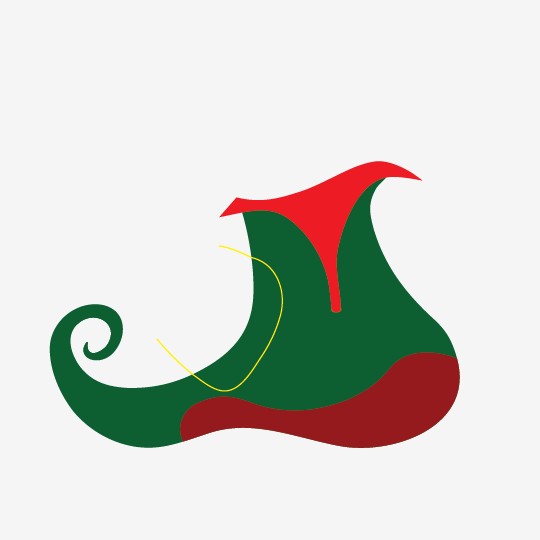
Here’s a preview of the final illustration:
Step 1: Creating the shape of the shoe
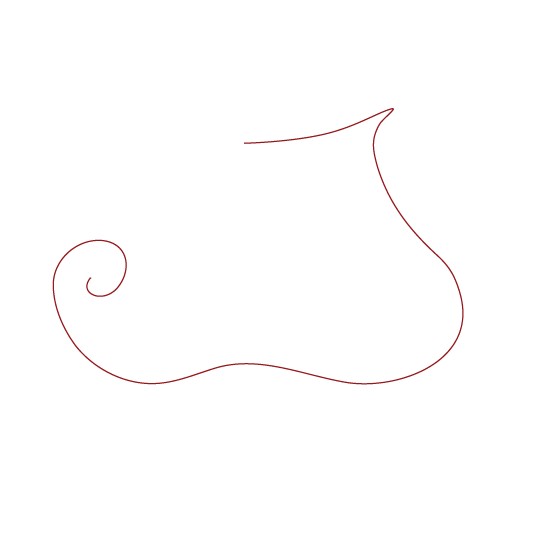
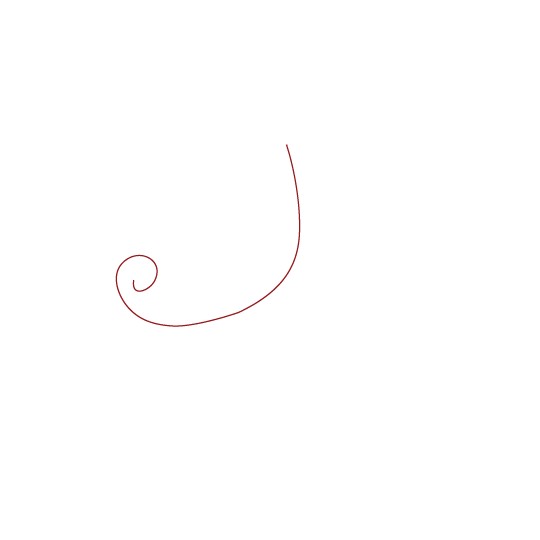
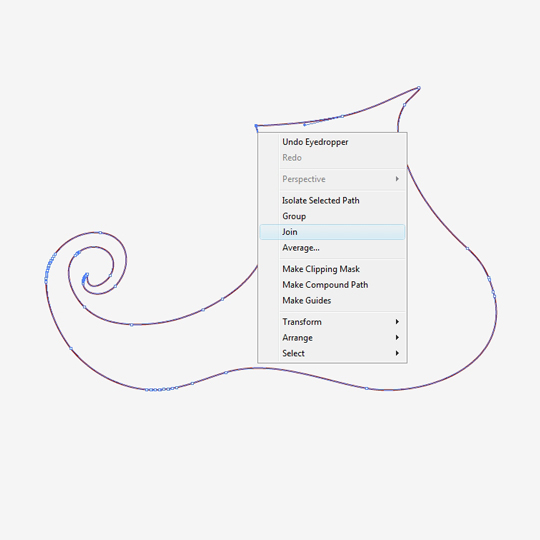
First we’ll try to create the shape of the shoe. From the Tool panel grab the Pen tool (P) and draw the path as it is shown on the picture below. You can use a tablet if you have one (it might be much easier to draw with actual pen). If it’s hard for you to draw it all at once, try to break it into few paths you will put together in order to get the shape of the shoe.
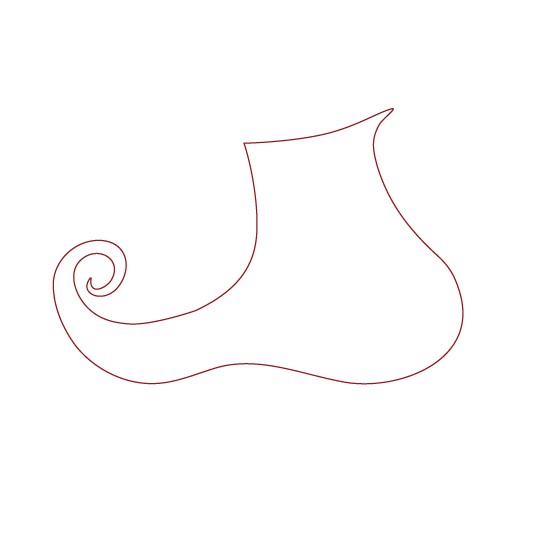
Now we have all the paths. We just need to put them together. Select endpoints and under right click select Join.


Now we need the upper part. Using the same technique try to draw the shape of upper part of the shoe.
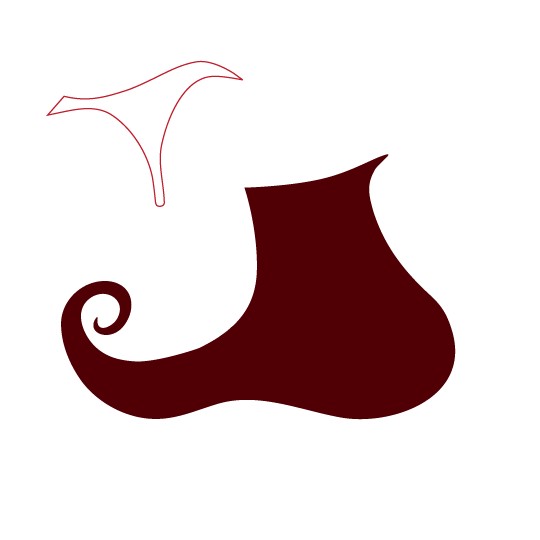
Next step is making a sole. Grab the Pen tool (P) and draw the path like you see on the picture below.
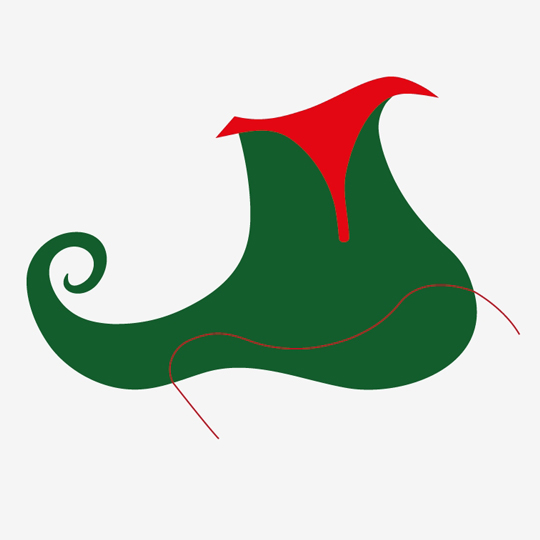
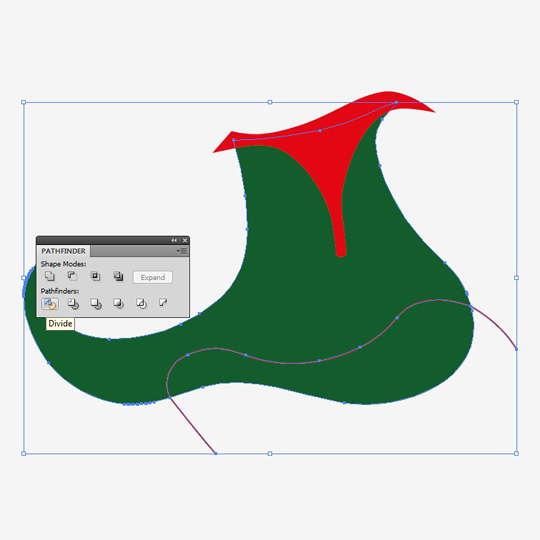
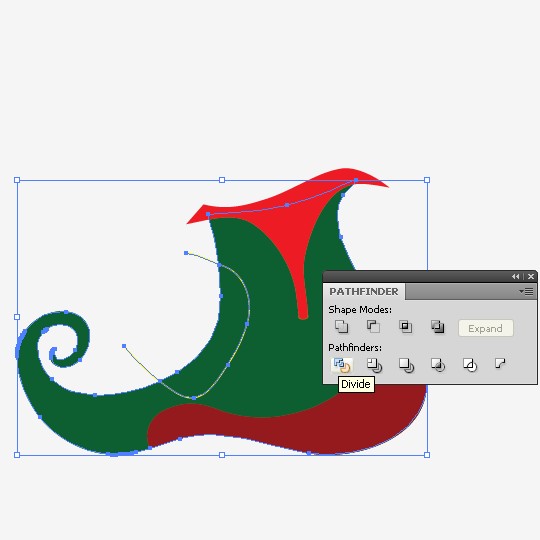
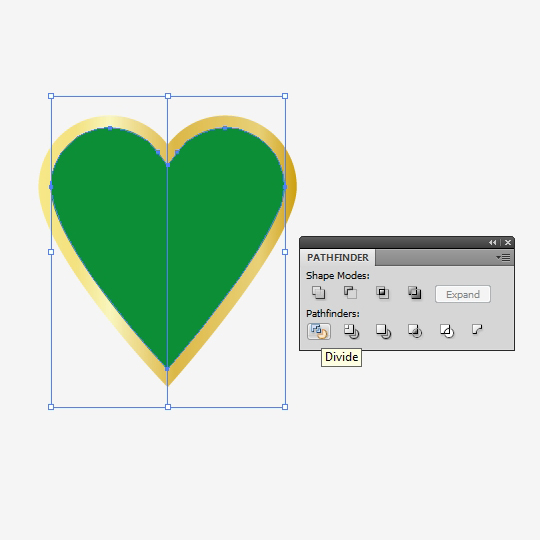
Select the green part of the shoe and the path and under the Pathfinder panel hit Divide button
Ungroup it by selecting Ungroup under right click or simple by hitting Shift+Ctrl+G on your keyboard. Set the Fill color for lower part of the shoe to dark red for now.

Select the green part of the shoe and hit Ctrl+C and then Ctrl+F. This will copy and paste-in-front the object. Now we have two pieces of the green part. Soon you will see why. Take again a Pen tool (P) and draw the line like you see on the next picture.
Select the green part of the shoe and the yellow line and under the Pathfinder panel hit Divide.
Ungroup it (Shift+Ctrl+G) and delete a bigger part. Change the color of the smaller part to white. You should end up with something like this.

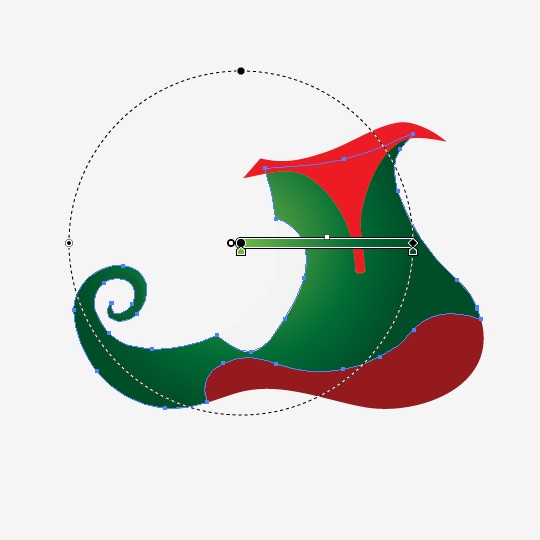
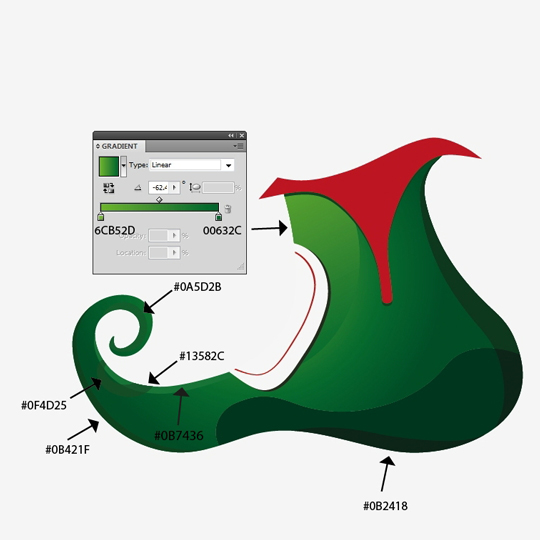
We are going to add gradients to the green part of the shoe.
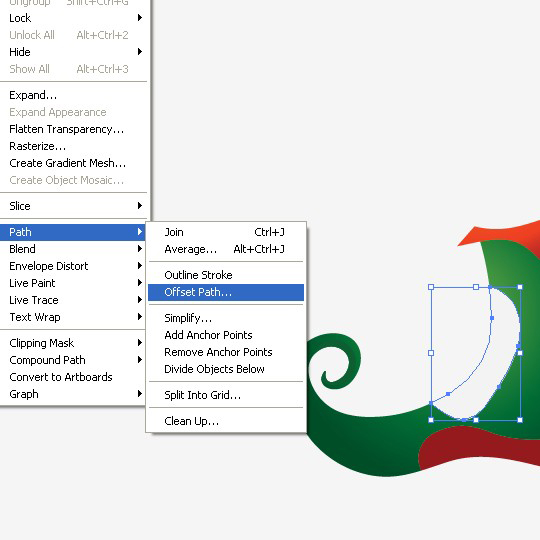
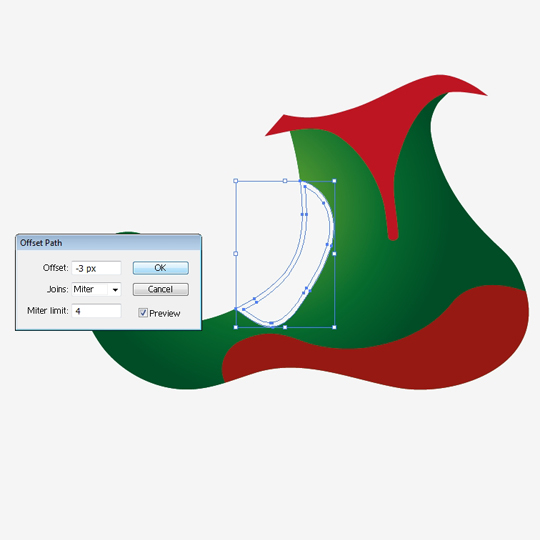
Select the white part of the shoe and under Object – Path – Offset path set the Offset to -3 pt. Change the color of the new object to yellow just to make it visible. Now using the arrow keys on the keyboard nudge the yellow object to the left.
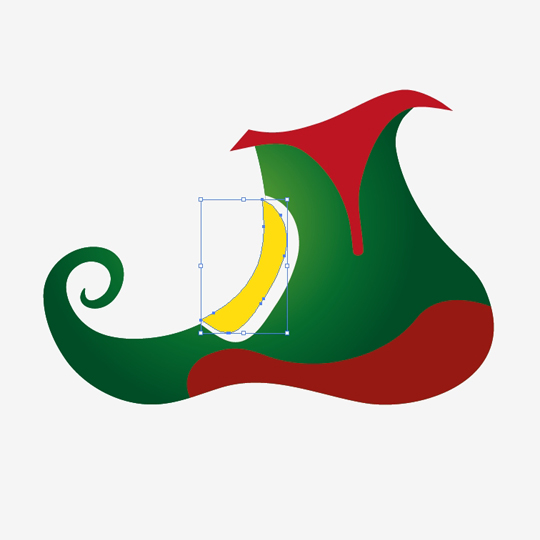
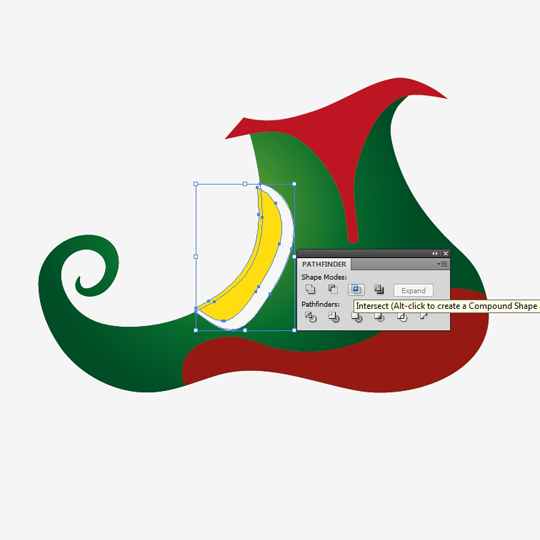
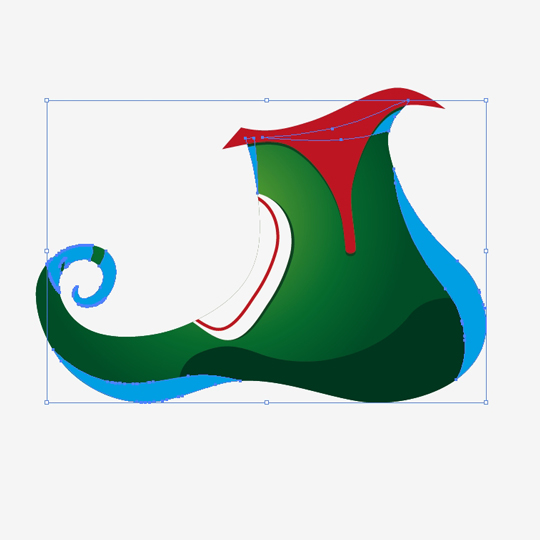
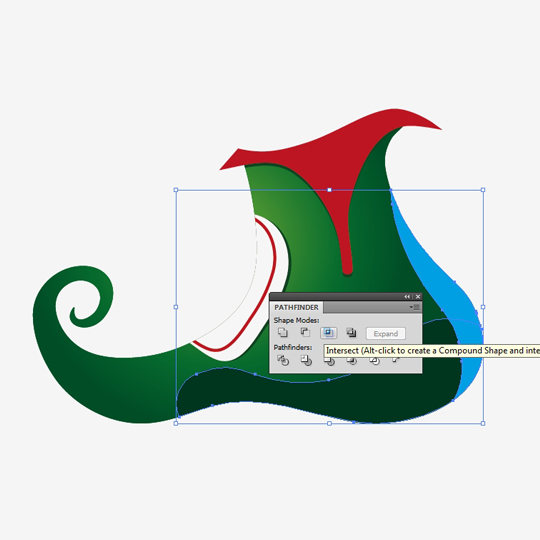
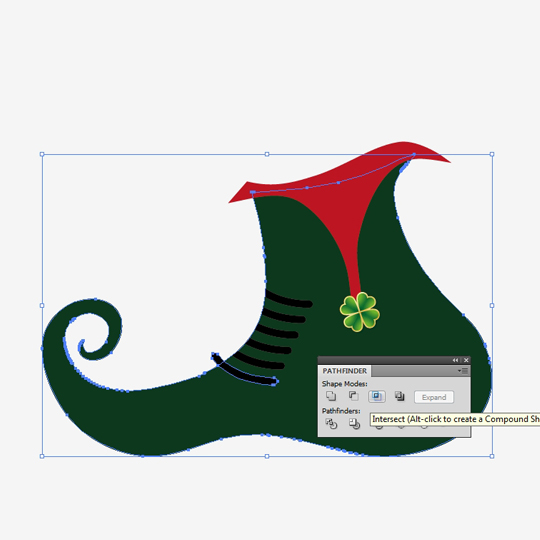
Copy and then paste-in-front (ctrl+C then ctrl+F) the white part. Holding the Shift key on the keyboard select both, yellow and the white part, and under Pathfinder panel hit Intersect.
Remove the Fill color for the new object we’ve just made and add the stroke. Using Direct Selection Tool (A) remove the anchor points on the left side of the stroke line.
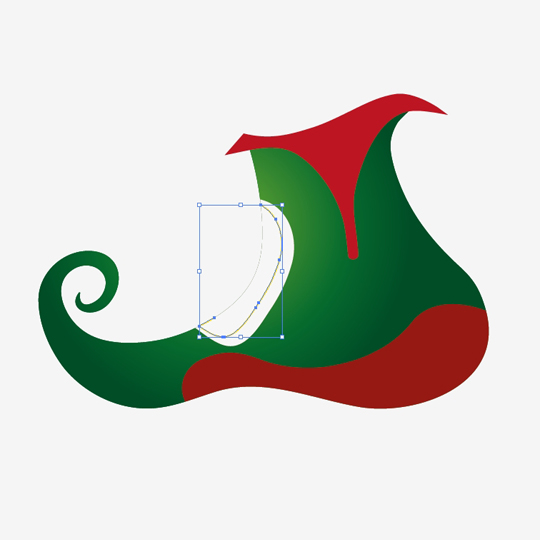
Select the stroke line and under Object select Expand. After that change the color to dark red. This is what you should have now.

Step 2: Creating the shadows
Let’s create a few shadows. That will make our shoe look more realistic.
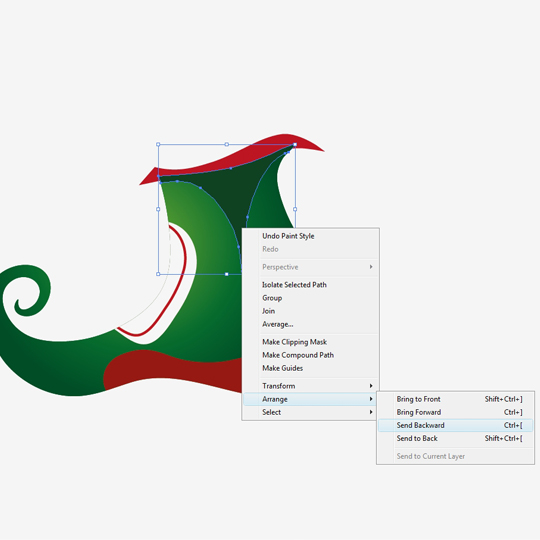
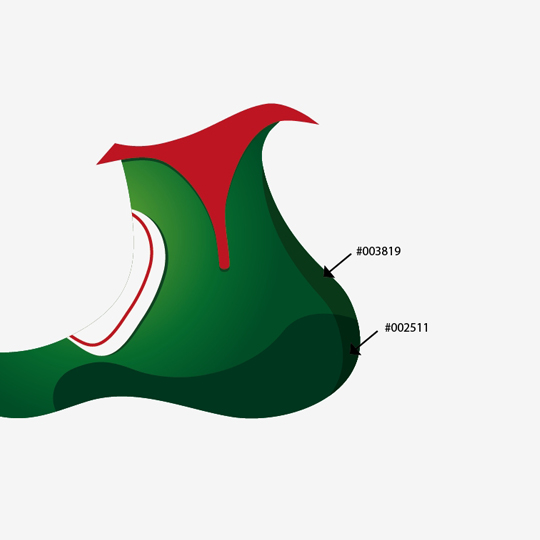
Select the green part of the shoe and make a copy of it (Ctrl+C, Ctrl+F). Do the same thing for the upper red part of the shoe. With the upper part of the shoe still selected, using the arrow key on the keyboard nudge it a few times downwards. Then holding Shift on your keyboard, select the green part of the shoe and under the Pathfinder panel hit Intersect button.

Change the color of that part to dark green and send it behind upper red part of the shoe using right click – Arrange – Sending Backward ( Ctrl+[ )
This is how your shadow should look like.

We will do the same thing for the white part of the shoe, to make it look like it’s attached to the shoe. Select the white shape and hit the Ctrl+C, Ctrl+F on the keyboard. Set the Fill color of the copy to dark green. Using Arrow keys on the keyboard nudge it 2 pixels to the right and under the right click select Arrange – Backwards ( Ctrl+[ ). It looks like the white part of the shoe is casting the shadow on the green part.
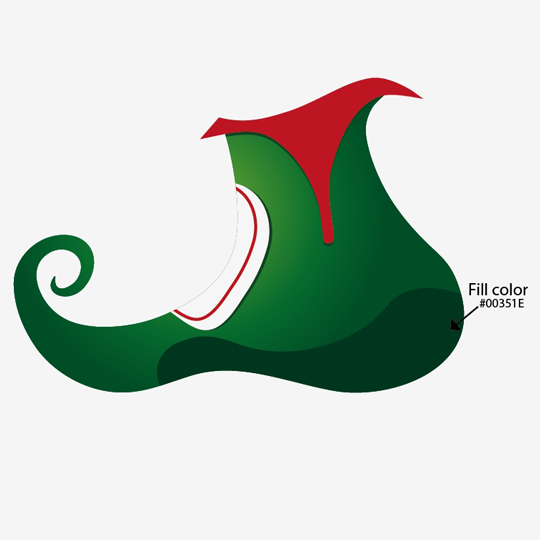
Change the Fill color of the lower part of the shoe to dark green, a little bit darker then the shoe.
Let’s create few more shadows. Just imagine a source of light above the shoe. According to that light try to create some interesting shadows. Shadows are actually one of the most important things in illustrations. They simulate a nice realistic look.
Select now everything except upper red part and its shadow. Copy and paste-in-front the selected objects, and under the Pathfinder panel hit Unit button.

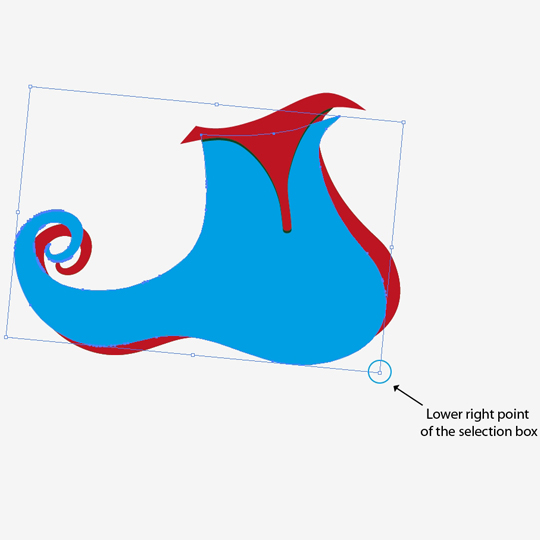
Now duplicate the new object we’ve just created and change the Fill color to blue (just to make everything more visible). Move it to the left a little bit. Grab the lower right point of the selection box and rotate it a little bit. Like it’s shown on the picture below.
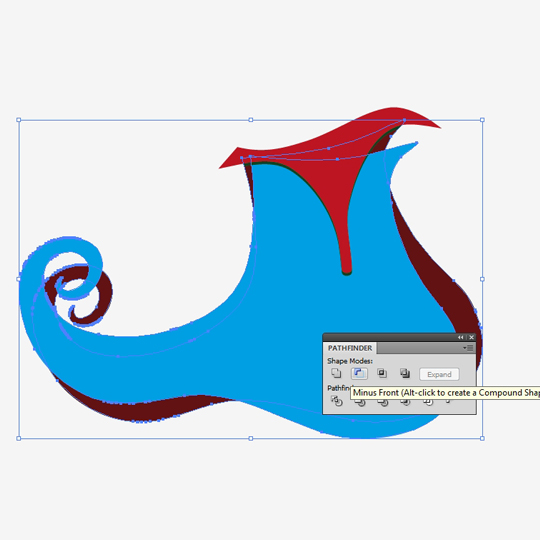
Holding the Shift key on your keyboard select the red and blue objects and under Pathfinder panel hit Minus Front. You will end up with funny parts of the shoe.
Select that funny shape and ungroup it (Shift+Ctrl+G). You can delete all parts except the one we will be using for the shadow. See the picture below.

Duplicate the new shape we’ve just created, duplicate the lower red part of the shoe. Select both parts and hit the Intersect button under the Pathfinder panel.
Change the color of the new shape to dark green (darker than lower part of the shoe). Do the same for the bigger part of the shape. This is how the shadow should look now.
Using the same technique make a few more shadows on the shoe. Some of them should have a lighter color to look like a highlight. Remember the source of the light right above the shoe we talked about in previous steps? That light is very important. According to that light you can create different highlights and shadows. I will select all shadows and highlights I’ve made. I think you can get the idea how to do that.
Step 3: Creating the four leaf clover
Let’s create a four leaf clover for luck.
We’ll start with a circle. Grab the Ellipse Tool (L) from a Tool panel and create two overlapping circles. Select them both and under the Pathfinder panel hit the Unite button.

Grab a Direct Selection Tool (A) from a Tool panel and select lower anchor point and holding the Shift key on the keyboard drag it downwards like shown on the picture below.
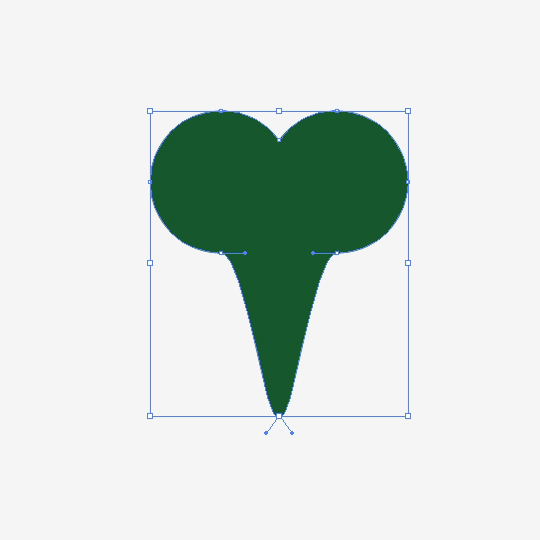
Select Convert Anchor point Tool (Shift+C) and click on the same lower anchor point. You should end up with something like this.

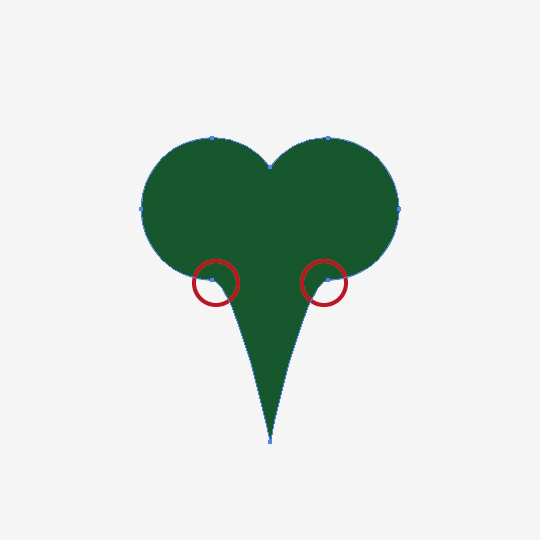
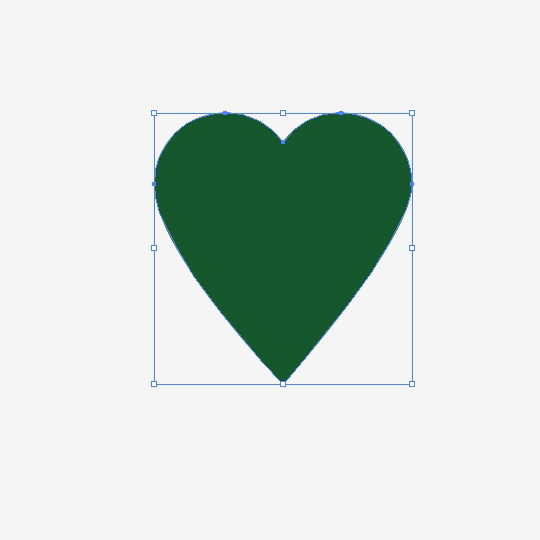
With Delete Anchor Point Tool (-) remove two anchor points on the both sides of the object. That will make a shape of the heart we can use to complete the four leaf clover.
Now we have to add a golden linear gradient to the heart shape.
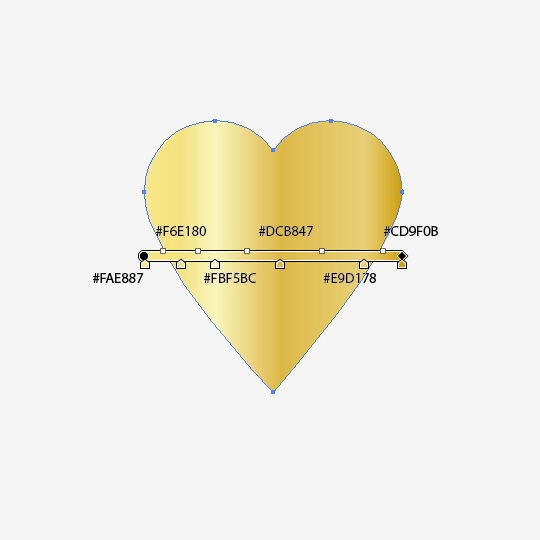
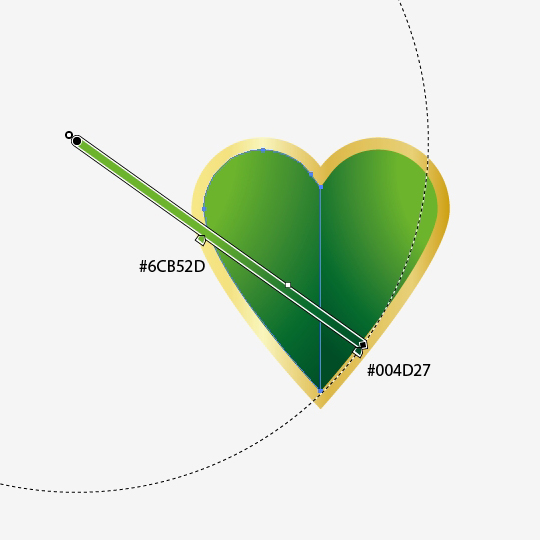
Select the heart shape and under Object – Path set the Offset path to -6. Set the Fill color to green. Grab the Line Tool (/) from the Tool panel and draw the vertical line. Select the green part of the shape and the vertical line and hit the Divide button under the Pathfinder panel.
Ungroup the shape (Shift+Ctrl+G) and apply the radial gradient to both parts.
Select the heart shape with the golden part and group it (Ctrl+G). Grab the Rotate Tool ( R ) from the Tool panel. Holding the Alt key on the keyboard click on the lower anchor point of the the golden heart shape and set the Angle in the Rotate box to 90. Hit the copy button.
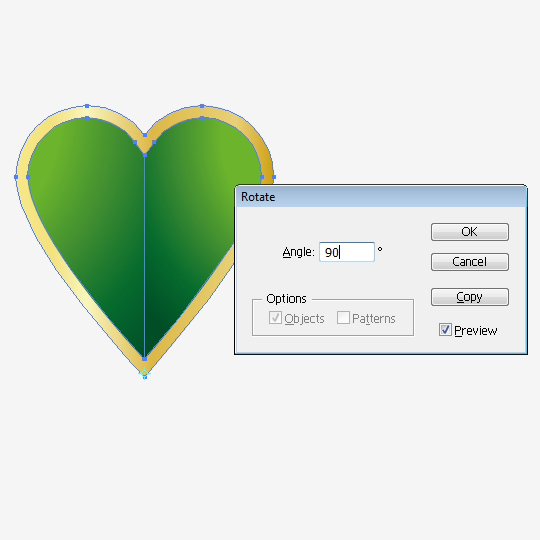
Repeat that action by hitting the shortcut Ctrl+D. To complete the clover hit that shortcut two more times.

You can also select all golden parts and unite them under the Pathfinder panel. After that offset the path for about 3 pixels and change the direction of the gradient. You should end up with something like this.

Place the four leaf clover on our shoe but don’t forget to create a shadow. Make a copy of the clover (Ctrl+C, Ctrl+F). Ungroup the copy (Shift+Ctrl+G) and unite all the paths under Pathfinder panel (by hitting Unite button). Change the Fill color to dark green and send it backwards under right click – Arrange – Send Backward ( Ctrl+[ ). Using the Arrow key on the keyboard nudge the shadow 1 pixel to the right and 1 pixel downwards.

Step 4: Creating the shoelaces
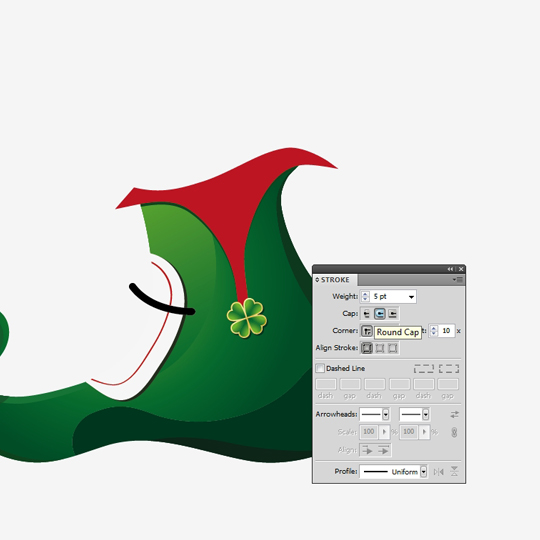
Let’s make shoelaces for the shoe. Grab a Pen Tool (P) and draw a line like this.

Under stroke panel set the thickness of the line to 5 and select Round cap to make end of the line rounded.
Expand it under Object – Expand, make a few copies and place them like shoelaces.

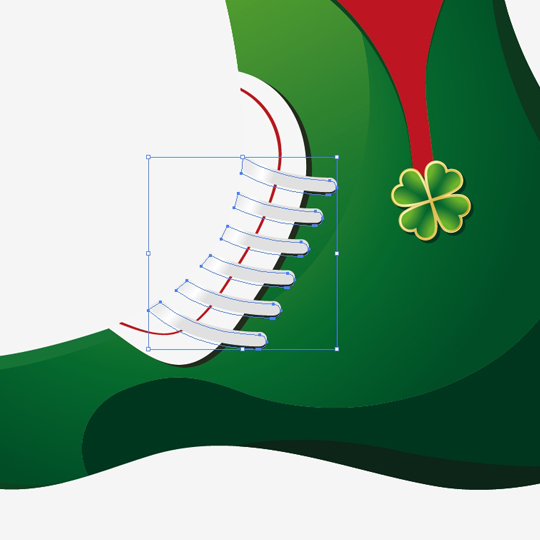
Select the white and the green part of the shoe (use Shift key on your keyboard to do that) and unite them using the Unite button under the Pathfinder panel. Make 6 copies of that shape (because we have to complete 6 shoelaces) and use them for cropping shoelaces (using Intersect button in Pathfinder panel). After cropping add radial gradient to our shoelaces.

Group all of the parts together, make a copy (Ctrl+C, Crtrl+F), change the color to dark green, nudge it downwards for a pixel or two and send it behind white part of the shoe.
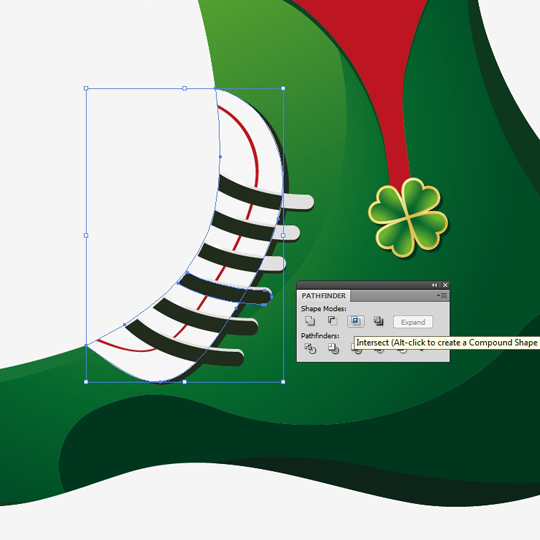
Repeat the previous step, but this time we will set the Fill color to gray, nudge it for the same amount like in previous step and send it underneath the shoelaces. Crop the shadow using the white part of the shoe. This might look like lots of work, but I think it is much better to do that then to make just one shadow to set the color to black and then to lower opacity. I think we can make the artwork look more realistic.

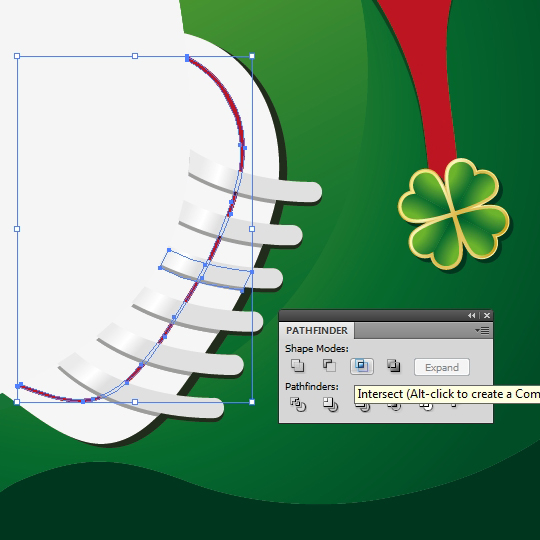
If you are not too lazy do it one more time to create the shadow for the thin red line. Repeat the previous step and set the color for tiny parts to dark red. Just make a 6 copies of the red line and one copy of the shadow for the shoelaces. Each part of the shoelaces select with one copy of the red line and using Intersect button under the Pathfinder panel make a crop which will be a small shadow casting on the red line.

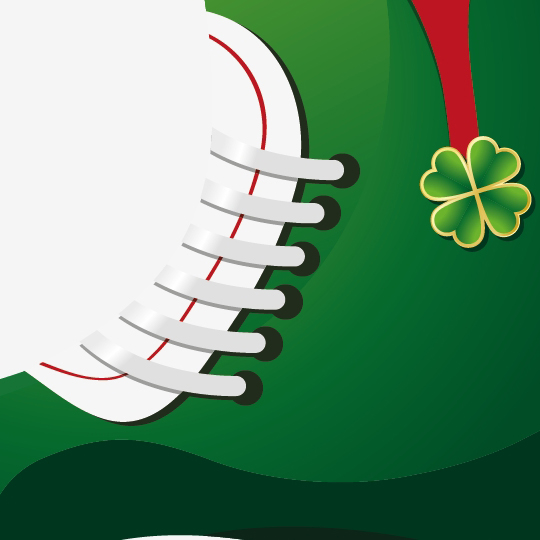
Now we need holes for the shoelaces. With Ellipse Tool (L) make few circles and place them to look like holes for shoelaces. Set the color to dark green.
Holding the Shift key on the keyboard select all circles and under Object – Path – Offset Path set Offset to 1 pt.
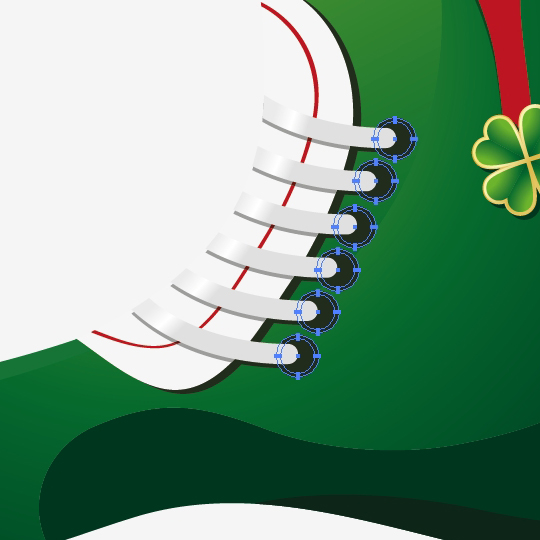
With new circles still selected remove the Fill color for them and set the stroke to 1.

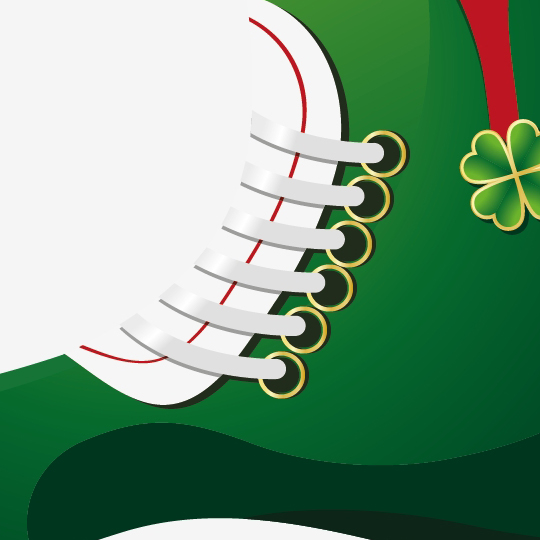
Expand them under Object – Expand and use a golden gradient as a Fill color. Make a copy of the golden rings, nudge them in the same directions as other shadows, change their color to dark green, and send them backwards (right click – Arrange – Send Backward).
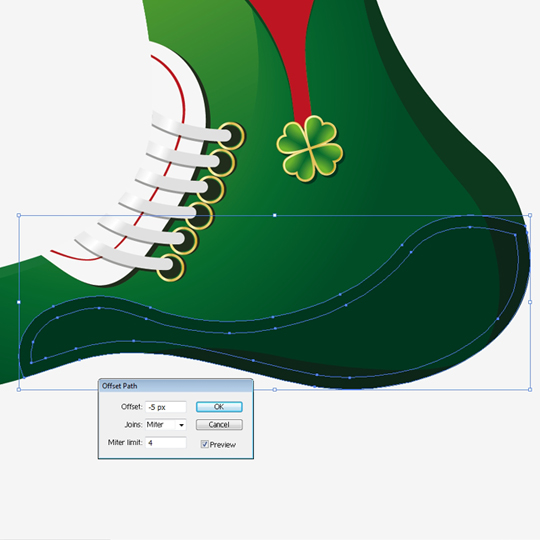
Lets select lower green part of the shoe. Under Object – Path – Offset Path set the Offset to -5.
Using Direct Selection Tool (A) remove the lower Anchor points of the new object we’ve created…
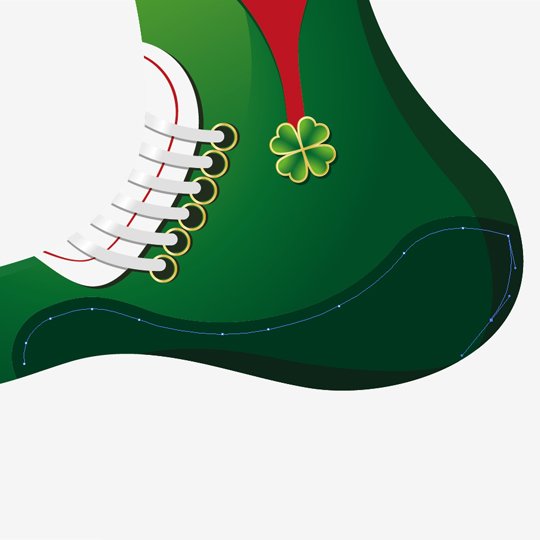
…and using the Pen Tool (P) make the path we have now longer than we actually need. Remove the Fill color and leave just the stroke.
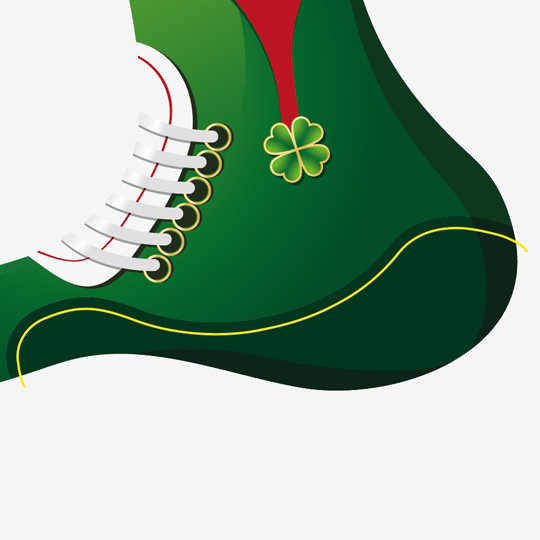
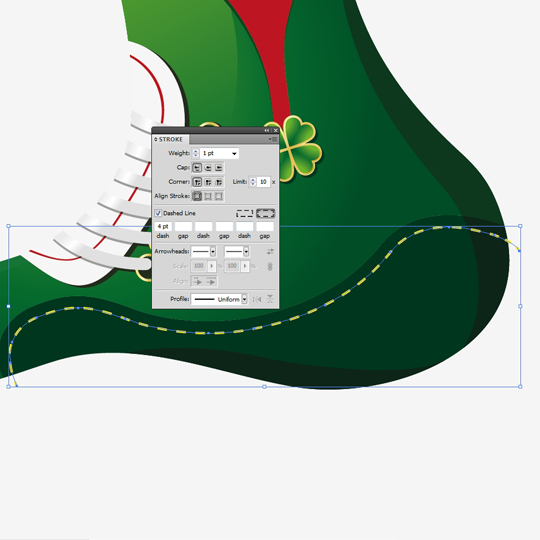
Set the stroke to 1 and check the box for Dashed Line and set the dash to 4 pt.
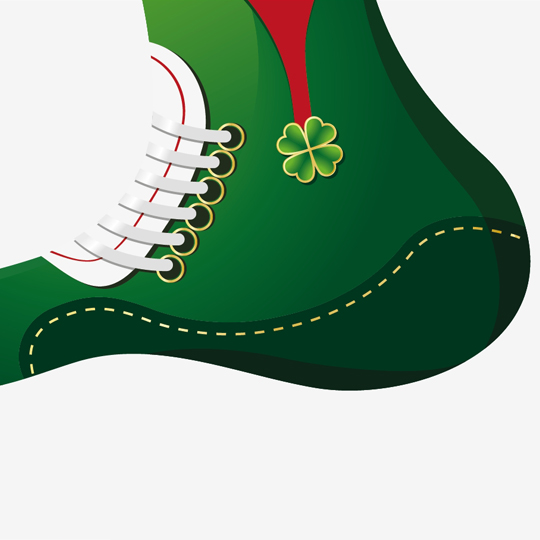
Expand the dashed line, apply the golden gradient we’ve used in previous steps. If there is anything overlapping the shoe just erase it with Eraser tool.
Step 5: Creating the pattern
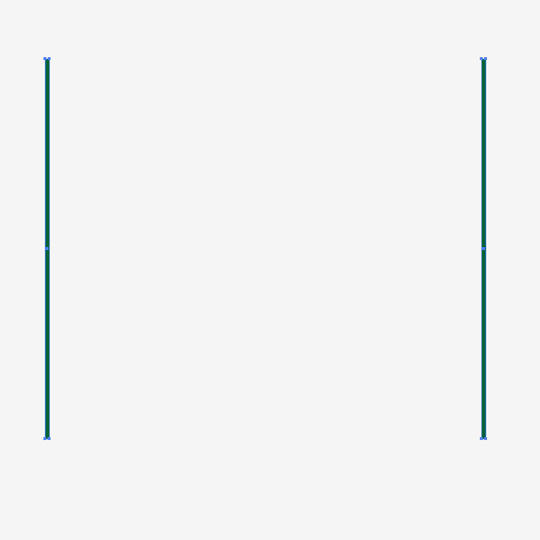
For the upper part of the shoe we will create a pattern. From the Tool panel grab the Rectangle tool (M) and create two rectangles like it is shown on the picture below.
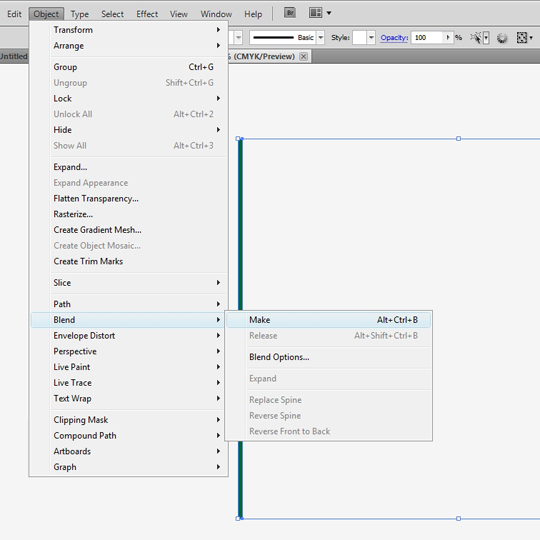
Select both rectangles and under the Object, Blend select Make.
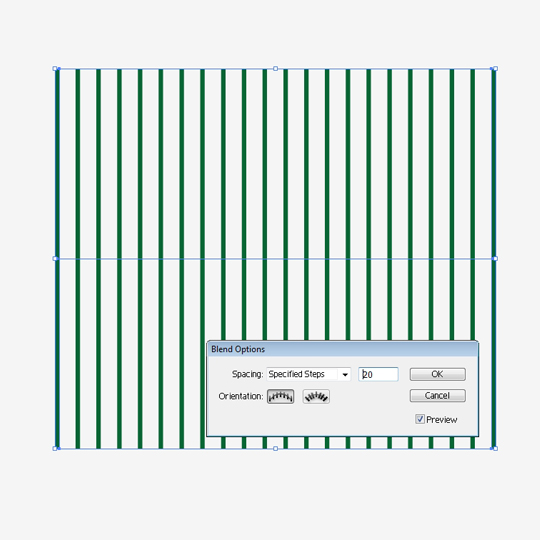
In the Blend option box set the spacing to Specified Steps to 20. You should end up with something like this.
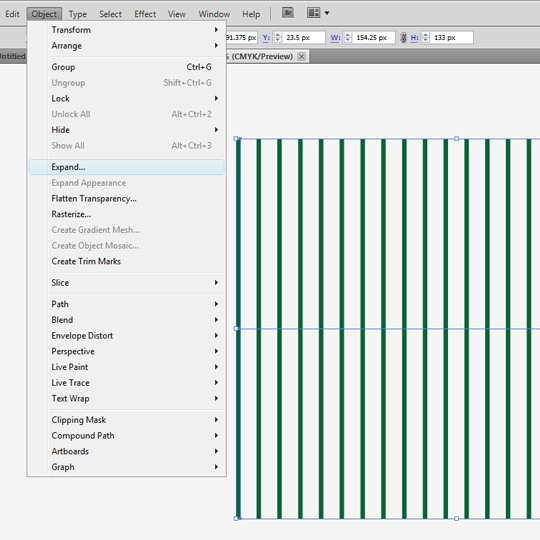
With the stripes still selected hit the Expand under the Object.
Grab the Rectangle Tool (M) from the Tool panel and create the rectangle in the same size as the surface with the green stripes.
Send it backward using right click – Arrange – Send Backward ( Ctrl+[ ). Apply the radial gradient to the rectangle.
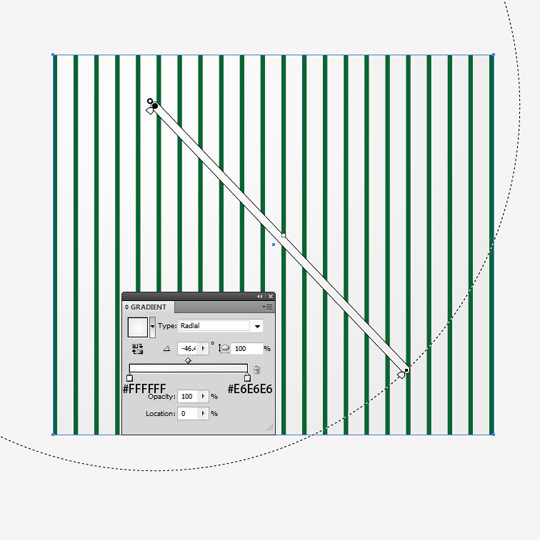
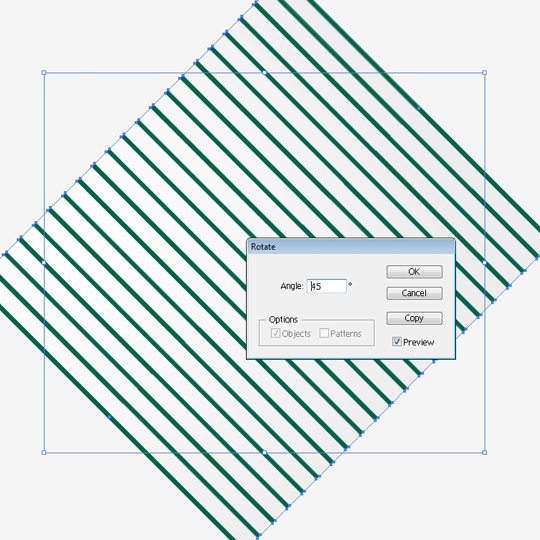
Group the rectangle with the stripes (Ctrl+G). Under the Object select Transform – Rotate. Set the rotation Angle to 45 degrees.
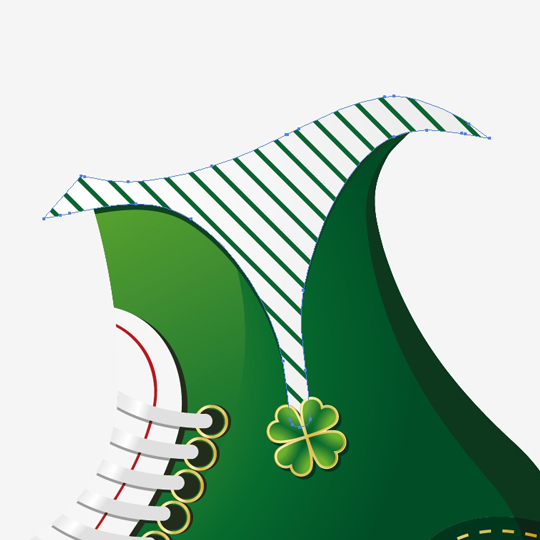
Grab the new object we’ve just created, drag it and drop it in the Swatch panel. We are going to apply it to the upper red part of the shoe. Just select that part and select the pattern we’ve just made from the Swatch panel.
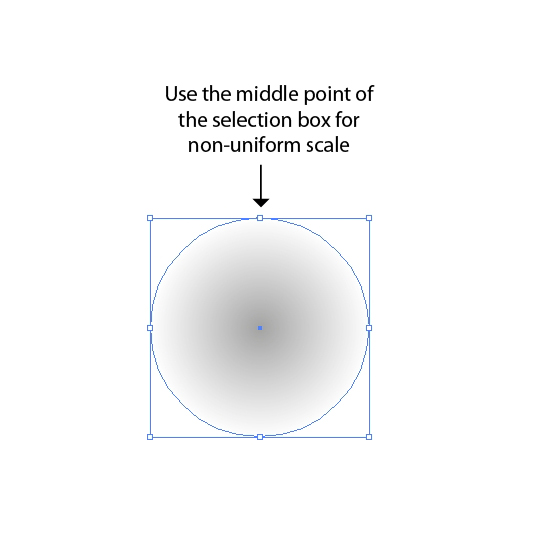
Let’s create the shadow from the shoe. Grab the Ellipse Tool (L) from the Tool panel and create a circle. Apply a radial gradient to the circle (white-gray gradient). Scale the circle down using non-uniform scale.
Place the shadow underneath the shoe. Adjust the position to look like the shoe is creating the shadow. And you are done!
I hope you liked the tutorial! Feel free to experiment with colors and gradients. Looking forward to seeing some of your results. If you have any questions or comments please post it below. Thanks for reading!