Step 1
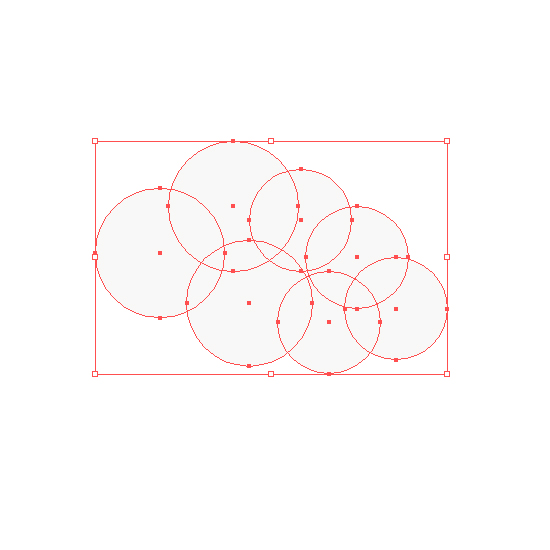
Draw a bunch of circles
Step 2
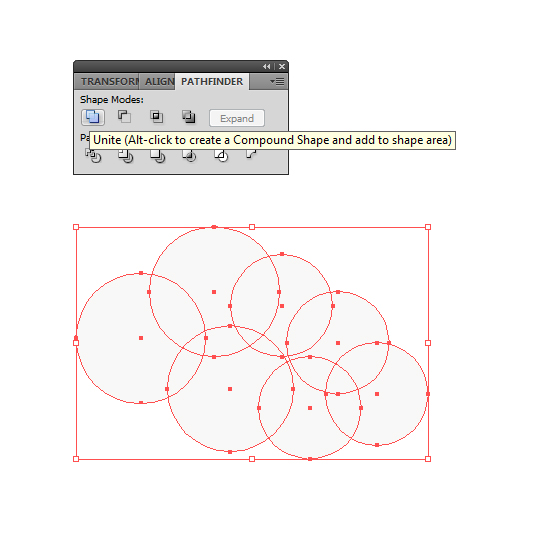
Use pathfinder to unite all the shapes in one , and if you miss some place in the middle which didnt add up to the final shape just use direct selection tool (A) to select and delete them.
Step 3
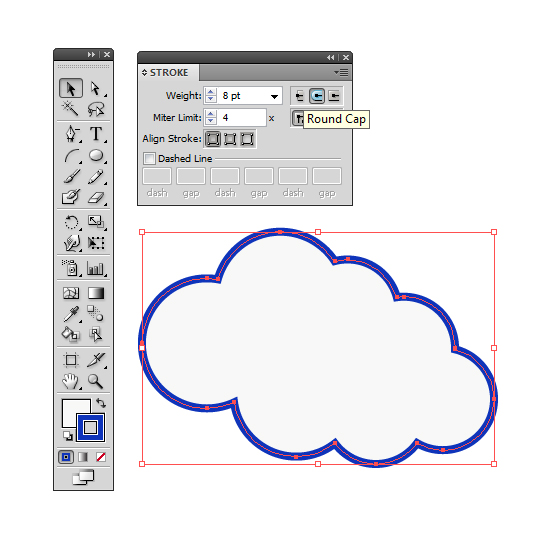
Give it a nice blue stroke with rounded Cap.
Step 4
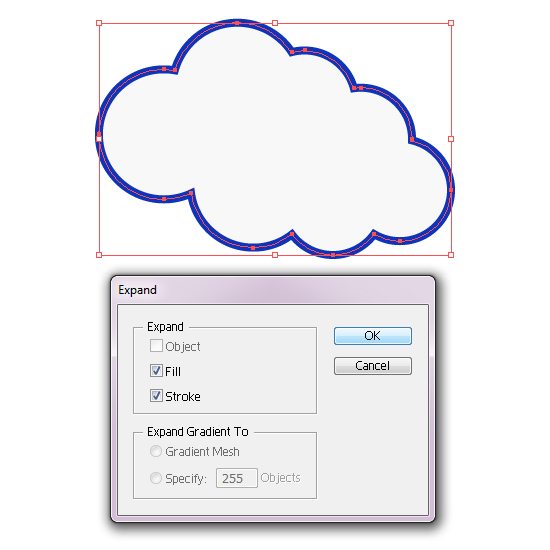
Next Expand the stroke
Object – Expand
Step 5
Right click the shape and ungroup the whole thing
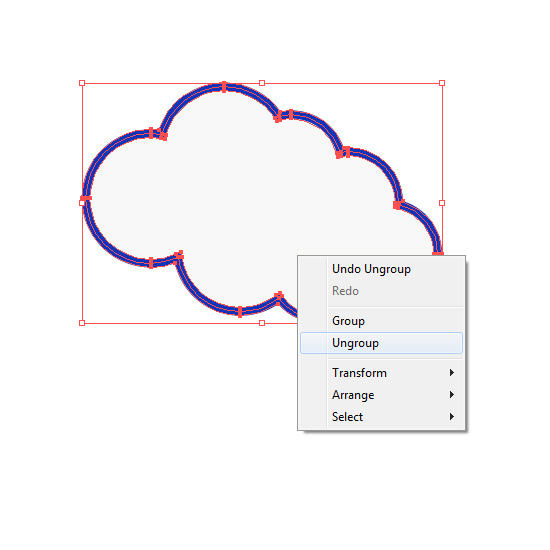
Step 6
Now i will use offset path to create a similar smaller shape in the middle.
Object-Path-Offset Path keep the offset in negative to give you an inner shape.
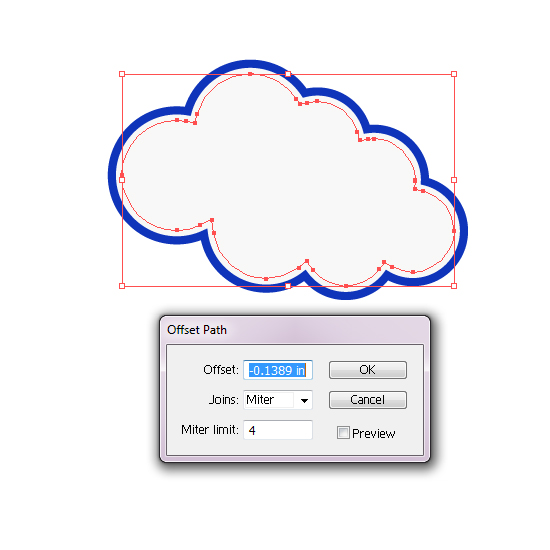
Step 7
Select the inner shape that you just created and give it a gradient fill.
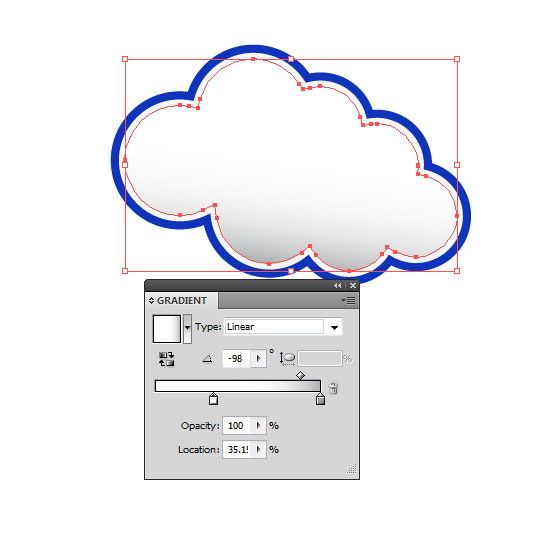
Step 8
Now we have another filled area which HAD a stroke of blue behind it (as expanded in step 4) , select that and ungroup
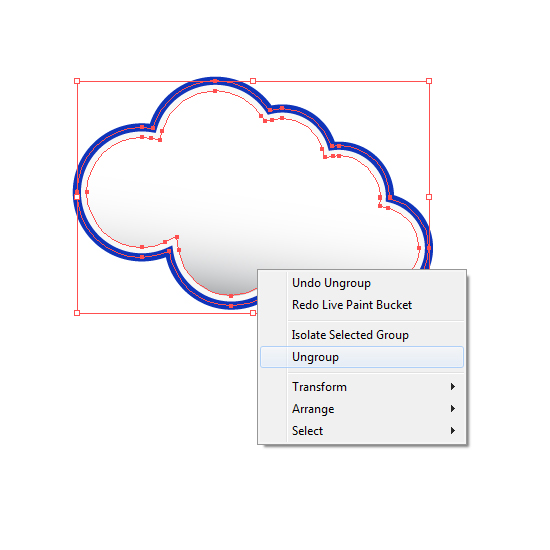
Step 9
Select the white fill and using eye dropper tool give it a gradient as well.

Step 10
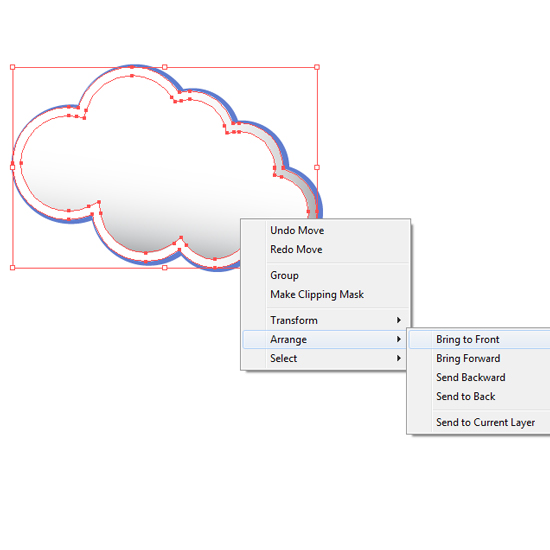
Select the two gradient filled cloud shape bring them forward
Right click – arrange – bring to front
Move the two shapes towards left a bit , just to give the blue outline some character and life. you will also noticed that i i changed the blue stroke tone here a bit.
Step 11
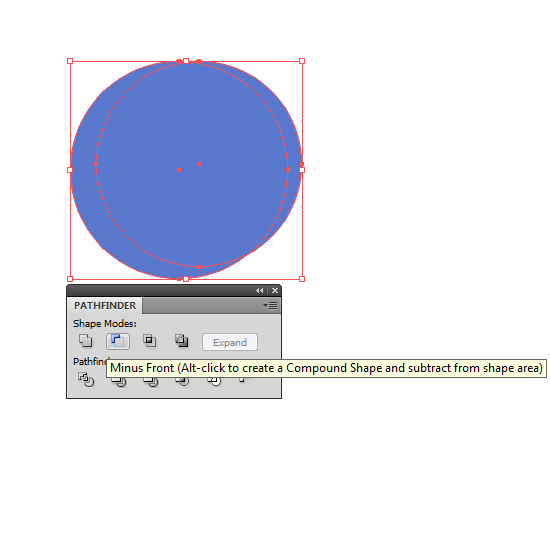
Just to add a little bit of interest in the cloud shape i created an eclipse shape using two circle and then again pathfinder to minus the front.
Step 12
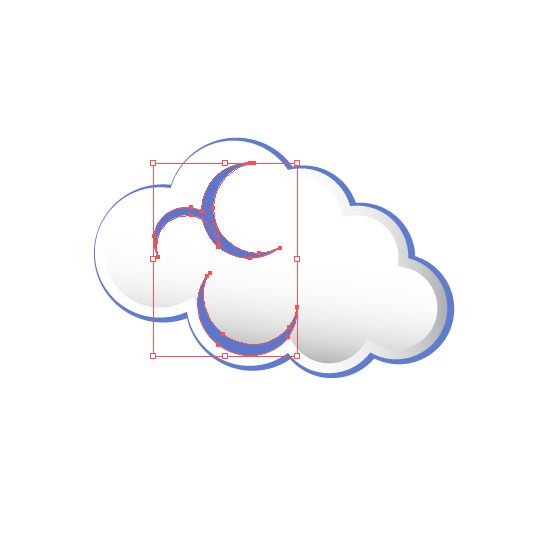
Arrange this shape on the cloud somewhere anywhere you like to achieve something like this…
Step 13
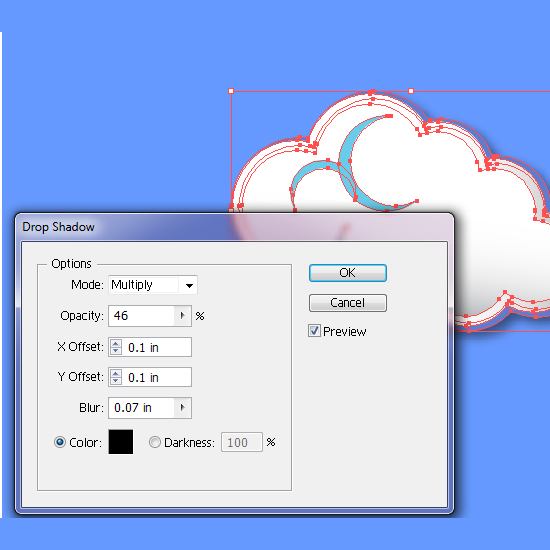
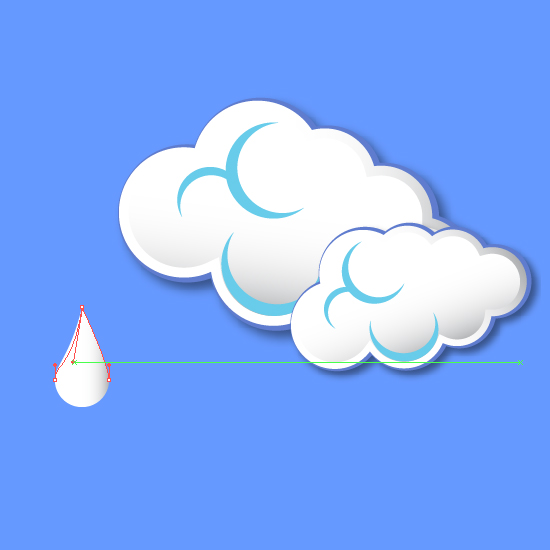
Notice here i started to build up the final look , so i added a blue background to the cloud shape just to see things clearly on how they will look on my final project . Give the shape a bit of drop shadow. Effects-stylize-Drop Shadow
Step 14
Create a copy Scale and arrange .


Step 15
I drew a small circle and selected the top node with direct selection tool (A) and just pulled it upward a bit and then adjusted its handles to create a drop of water . This drop has the same gradient fill and same shadow effect.

Step 16
We are done!
Here is what i came up with
