

Final Product What You’ll Be Creating

Introduction
Script lettering can take on many forms, from athletic logos, to tattoos, all the way to wedding invitations – and many places in between – but they all are rooted in handwriting. So thats where we’ll start.
Simply Drawn Script
First, we’ll start with simply re-creating the words ‘to’ and ‘from’ directly off of the sketch/reference. This is a fairly straight forward approach, but still useful because this style of lettering could be used for almost any project.
Step 1a
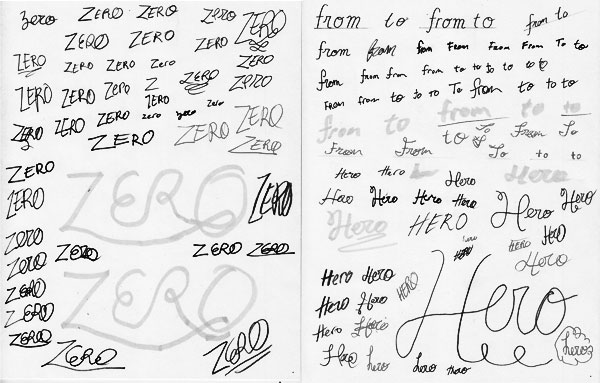
Break out the drawing utensils and write. I like to start with drawing because its helps to understand how the letter-forms are naturally formed.
Step 1b
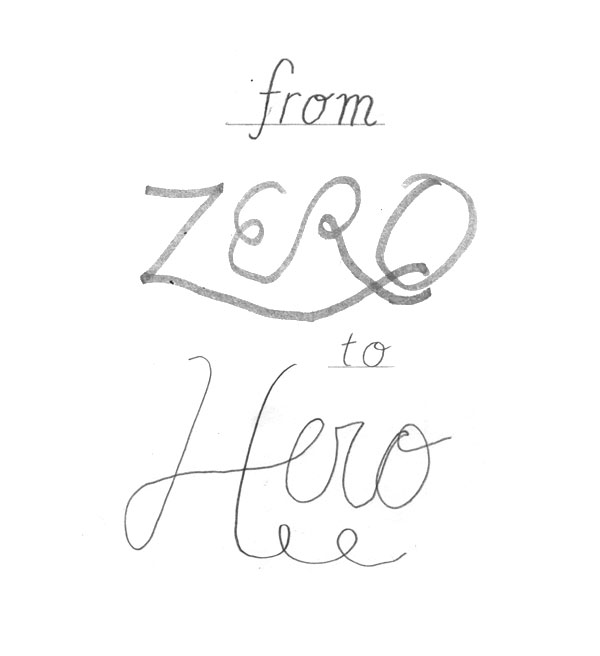
Here is the super quick sketch/mock-up to use as reference for creating the script lettering.
Step 2a
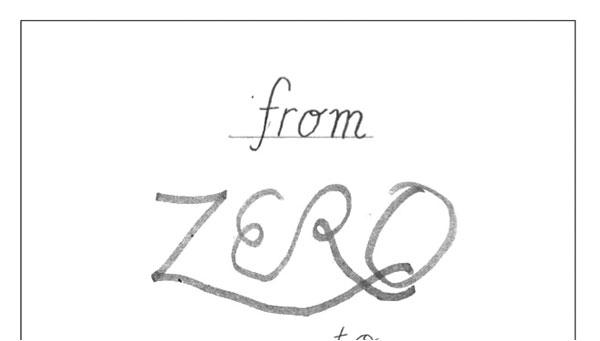
First up is the simple/basic script, based pretty closely off of the sketch. Bring in the reference image to AI and lock it in place (Command + 2).
Step 2b
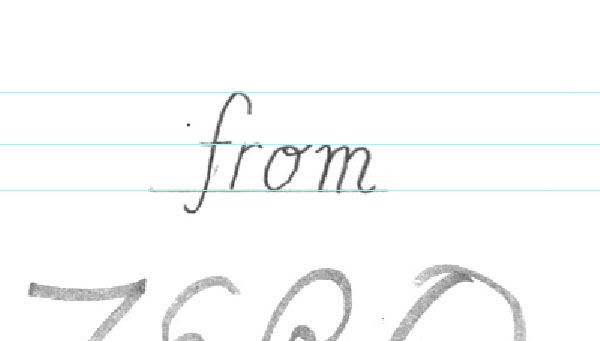
As you can see in the sketch I even used a guideline (baseline), this is to keep the letter-form on an even plane and consistent. Guides definitely will help when building the letters in Illustrator, so simply drag guidelines for the height of the letters from the sketch.
Step 3a
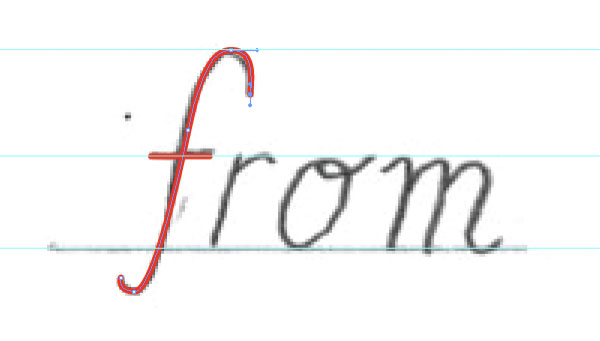
The rest is fairly simple on this first style, simply follow the basic forms of the sketch with the Pen Tool. Here I am using a 2pt (red) stroke on the lines.
Step 3b
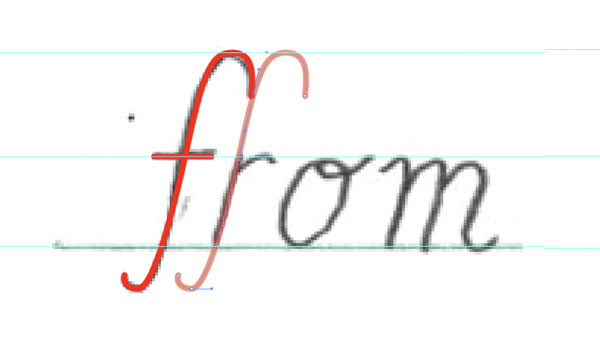
In-order to keep the lines consistent, specifically the angle of the letterforms, it helps to copy+drag existing lines and modify to help create the next letter. This also helps speed things along.
Step 3c
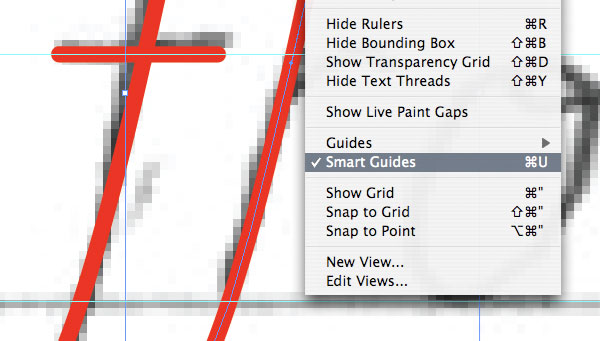
Another good tip is to make sure that you have Smart Guides on (View > Smart Guides). This will help to make sure things are precise.
Step 3d
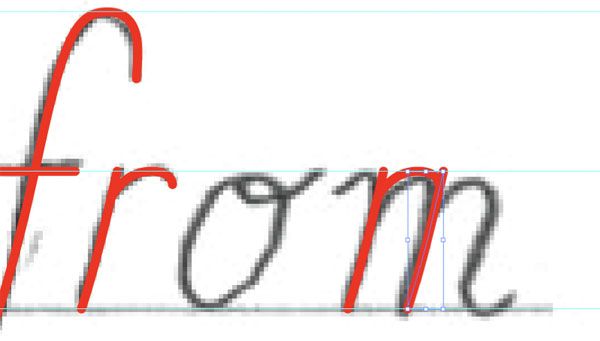
Things should move along quite swiftly and pain free. As you can see, for example, it’s fairly easy to create the letter ‘m’ using parts of the letter ‘r’ and a few simple variations with the Pen Tool.
Step 3e
Again, keep things simple. The letter ‘o’ can be started using the Ellipse Tool. Then refine according to the sketch.
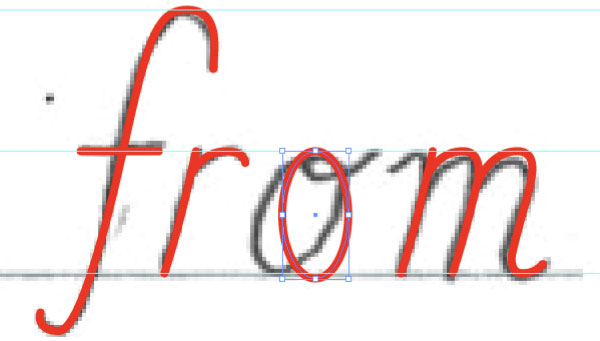
Step 3f
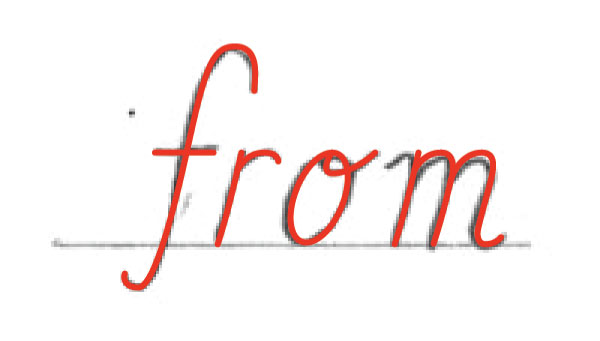
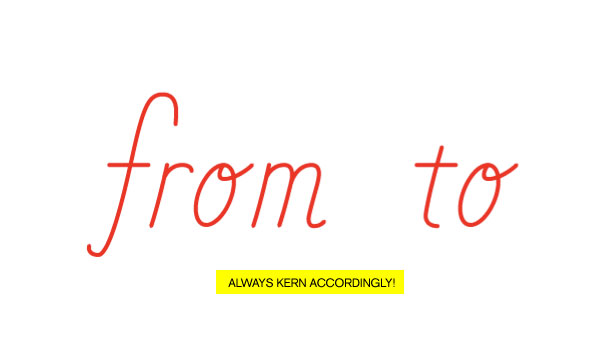
There you go, you have the word “from.” Notice, that I varied from the sketch, this is an important thing to be open to, because the sketch is just for reference it’s not the perfect drawing. Start with the sketch, but make sure the letterforms look good by themselves.
Step 4a
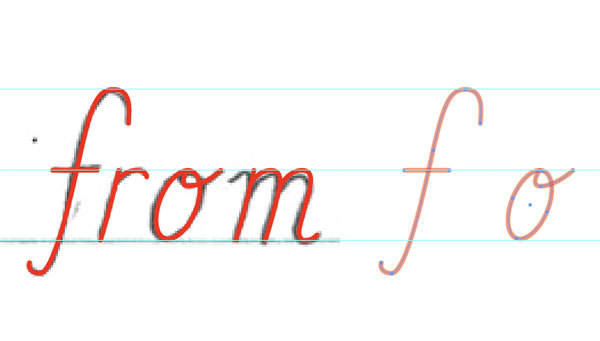
To create the next word, “to,” we’ll create the same style letters but this time we won’t even need to use the sketch. Simple copy + drag over the pieces/parts of the letters you have already created.
Step 4b
Referencing the sketch, simply modify and draw the word “to.”
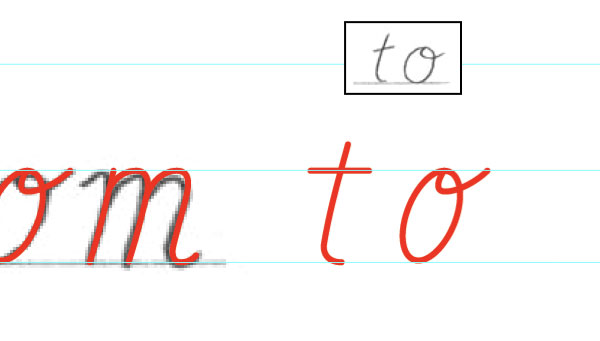
Step 4c
There you have it, two words drawn and the first of three script lettering styles finished.
Building a Bold Script
For the next style we’re building the word “ZERO.” This approach uses the reference/sketch to understand how to build the framework of the letters so they intertwine/flow correctly. This is an energetic looking letter style and could be used for things like athletics or anything playful.
Step 5a
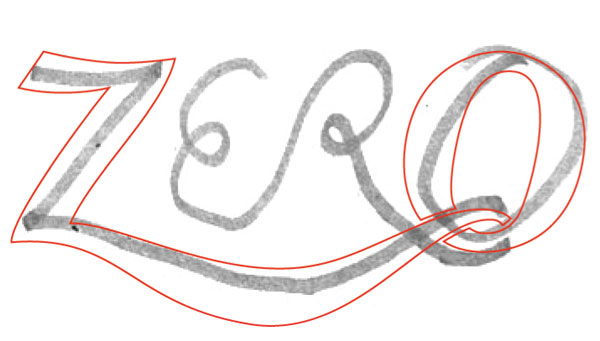
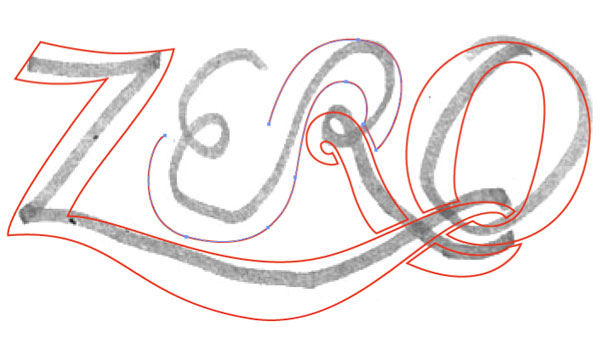
Using the sketch as reference to build from, start drawing the “Z” with the Pen Tool. The basic idea is to use the sketch as a framework – or how the letters flow into each other – not tracing them like in the last style.
Step 5b
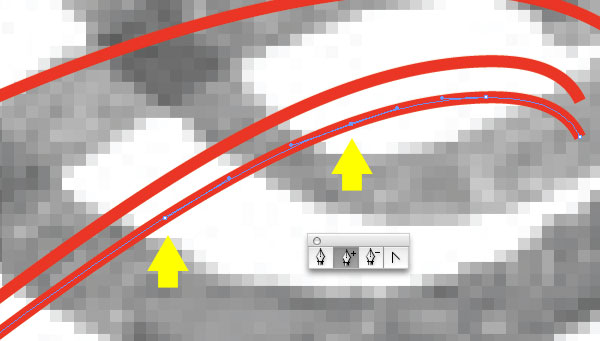
In-order to achieve the allusion that the letters intertwine we will need to create a bridge or white gap between two shapes. And to keep these gaps precise and consistent simply start with a point from an existing line. Direct Select (white arrow) the closet point to where the new shape where the gap will appear.
Step 5c
Copy + Paste the point in front and using the up/down and left/right arrows position the line in place. Keeping track of how the distance (4 down) you’ve moved the piece and using that same distance throughout the lettering will keep things consistent. Though it may not always be the same, depending on the orientation/position of the shapes.
Step 5d
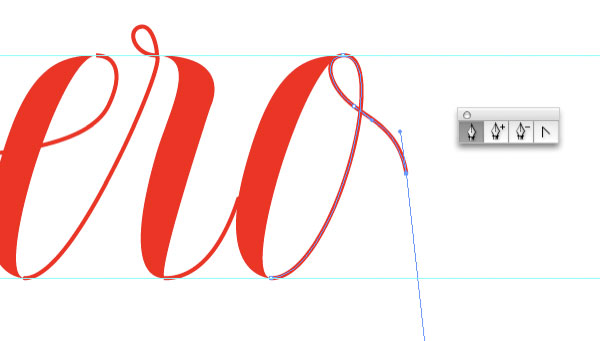
Using the Add Anchor Point Tool (+ Arrow) add 2 points where you want to start the next shape, in this case it being the “O” in “ZERO.”
Step 5e
Next, using the Delete Anchor Points Tool (- Arrow), delete the unneeded points and continue drawing the “O” with the Pen Tool.
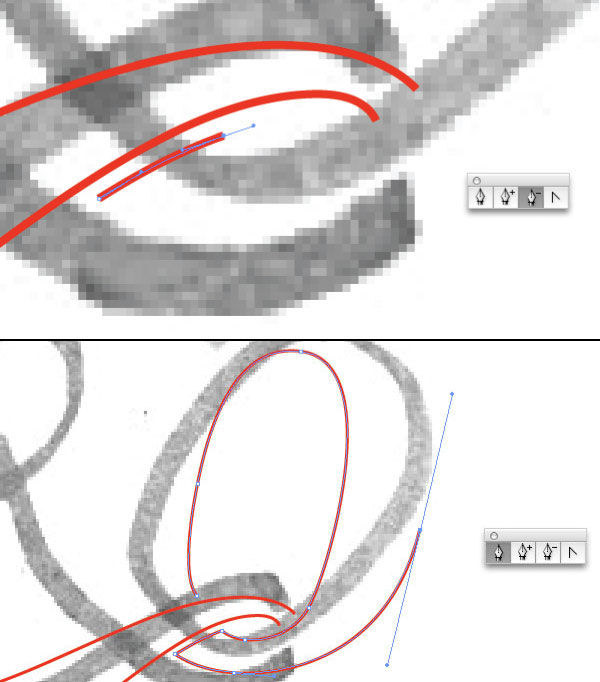
Step 5f
The completed “Z” and “O” in “ZERO.”
Step 6
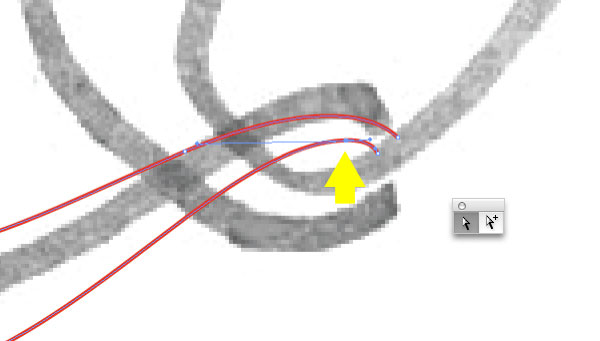
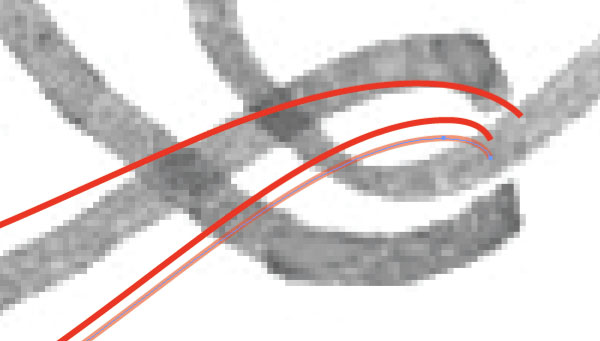
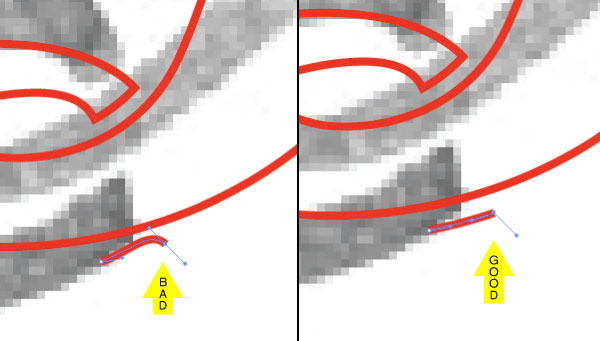
If the bezier handles from the Copy + Pasted line segment are not in the correct position and are changing the angle/direction of the intended line, hold Option and drag a new bezier handle.
Step 7a
Because you already have the gap segments to work from, it should be fairly easy to continue on with the letter “R,” working your way towards the “E.”
Step 7b
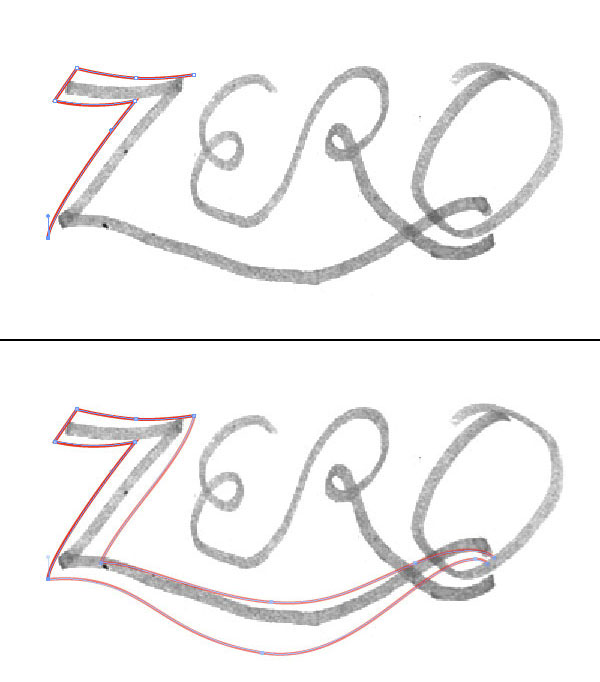
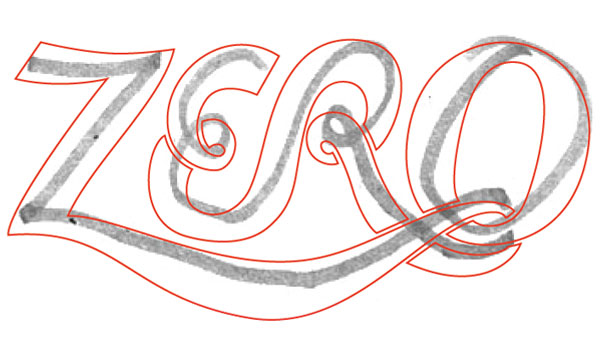
Completed line-work for the word “ZERO.”
Step 7c
In outline form (Command + Y) you can see that the linework is clean, meaning there aren’t any overlapping or over complicated shapes.

Step 8
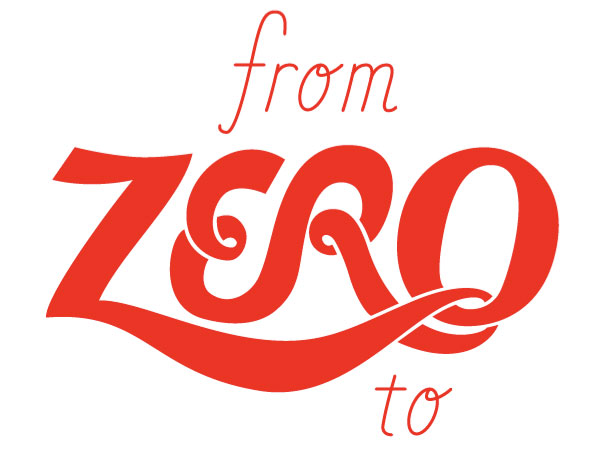
By changing the “ZERO” linework from a red line with stroke to red fill, and popping back in the previous “from” and “to” lettering – you have only one word to go.
Finessing a Fancy Script
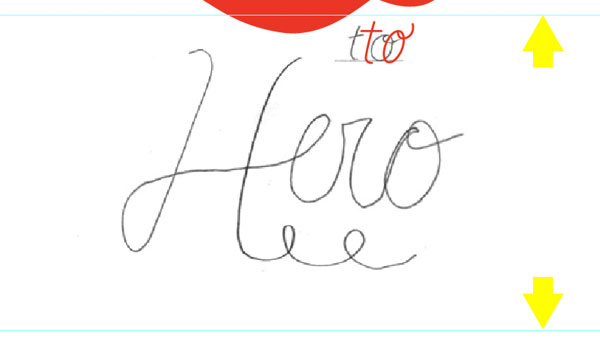
Now let’s work on the the final style, the word “HERO.” This approach uses the reference/sketch only as reference, and is more about setting up guides to create letterforms that have nice, thick vertical strokes leading into very thin horizontal based strokes. This is a classic looking letter style that has been around forever, but still could be used for anything from a wedding invite to a rock bands logo.
Step 9a
First, establish guides for consistency. Referencing the sketch, the ‘H’ in ‘Hero’ be larger then the rest of the script, so that is a good place to start. Determine the guides for the height of the ‘H’. Since the sketch is so crude, there wont be a need to keep it in the artboard. Hide it and reference it when needed as you draw the rest of the letters.
Step 9b
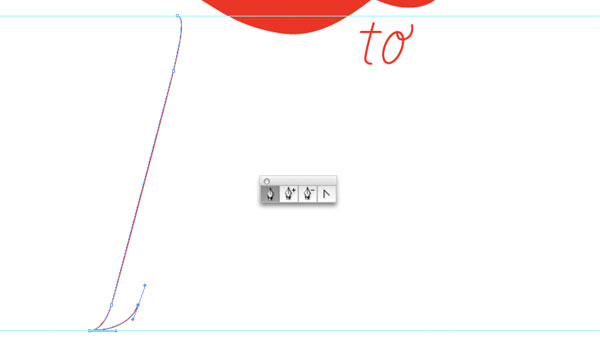
Using the Pen Tool, draw the first thick vertical stroke of the “H.” I am using a 2pt stroke line (red) to start.
Step 9c
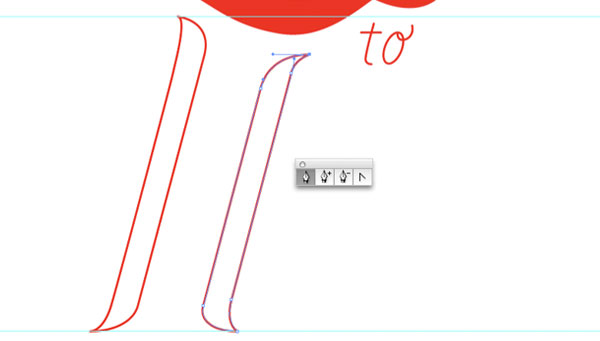
Remember the think vertical strokes will curve into thin, delicate lines, so taper each end. Also, notice the right side of the “H,” will need to be slightly shorter, so it doesn’t interfere with the above lettering. Rules (guides) are meant to be broken. Both sides of the “H” are finished.
Step 9d
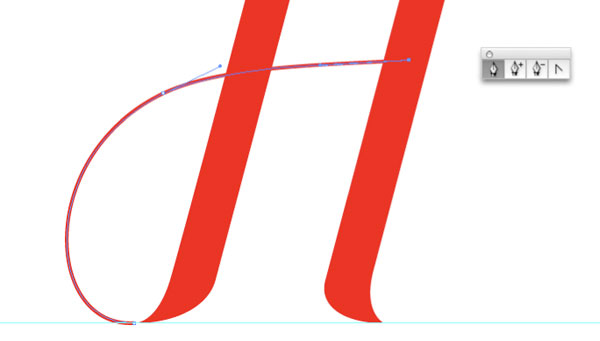
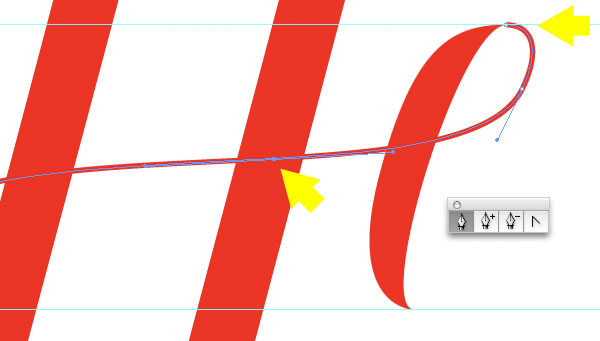
Change both vertical tapered strokes of the ‘H’ to a fill. With the Smart Guides still on, draw a line (2 pt) from the bottom left taper, swooping across to the right of the “H.”
Step 10
Next, we’ll need to establish an additional set of guides for the height of the smaller letters “e,” “r” and “o.”

Step 11a
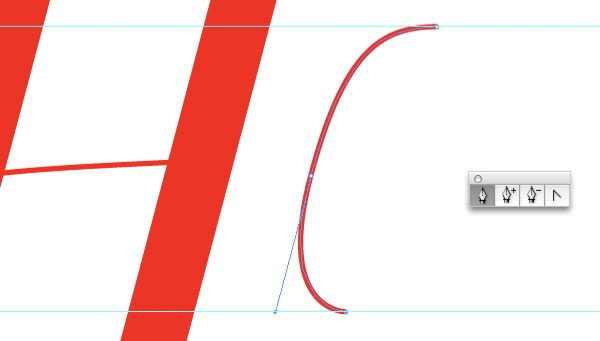
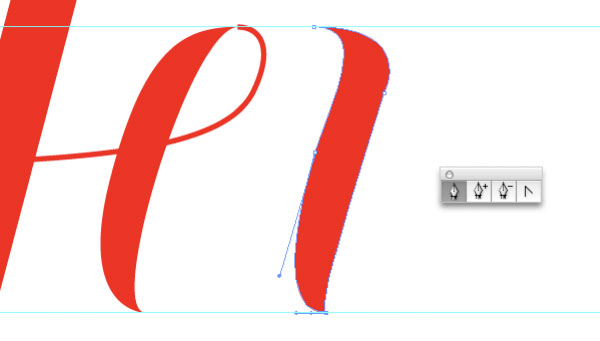
The same as the “H,” using the Pen Tool, draw the thick stroke of the “e.”
Step 11b
Complete the thick stroke of the “e” and change it to a fill. From the top of the “e” draw, using a 2pt stroke line, from the top of the “e,” connecting it to the line of the “H.”
Step 12a
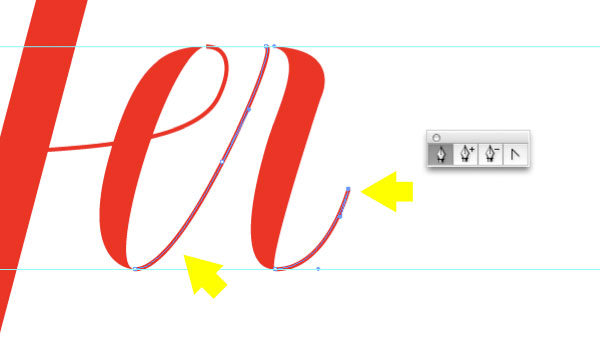
Draw the thick stroke of the “r” and change it to a fill.
Step 12b
Add the thin stroke of the connecting “e” and “r,” and then finish the shape of the “r.”
Step 12c
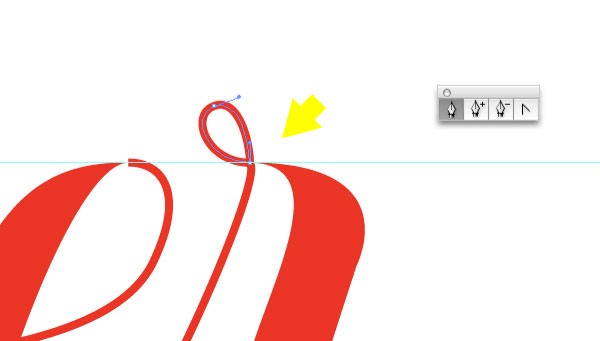
Don’t forget the nice little loop on the cursive “r.” It’s all in finessing the details.
Step 13a
And for the last letter, draw the thick stroke of the “o,” be sure to change it to fill.

Step 13b
Complete the “o” by drawing the thick (2pt) stroke.
Step 14
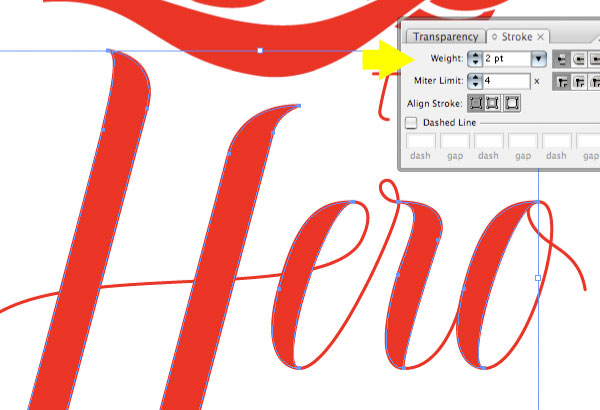
You may notice that the transitions from thick to thin on “Hero” are inconsistent. To fix that, select all of the filled shapes (thick strokes) and apply a 2 pt stroke weight to the shapes. All of the transitions are now smooth and refined.
Step 15a
To add a bit of finesse, or fanciness, add a swash coming from the “o,” and maybe a few more loops to the lettering. Now we’ve got the spirit of the script.
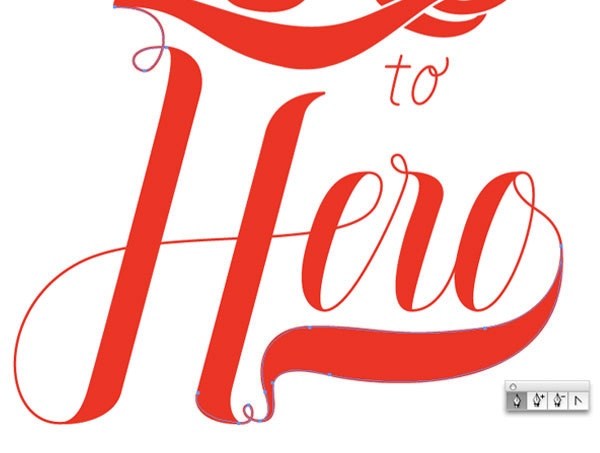
Step 15b
And how about even more fancy swoops to tie all of the different lettering together.
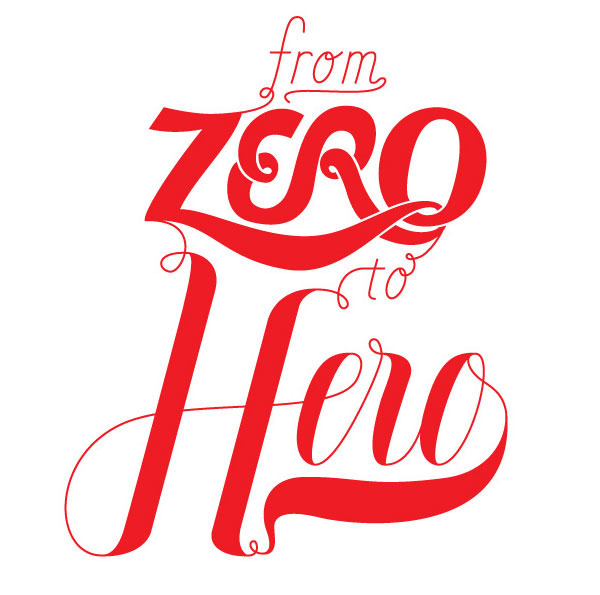
Final Image
Finish it of with a background color that makes the lettering pop. Boom!
The purpose of this tut is to show a variety of approaches and styles of script lettering. Hopefully this will help you to create you own, unique script lettering. The final image is below.