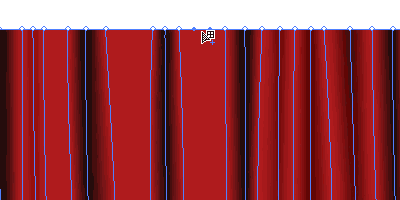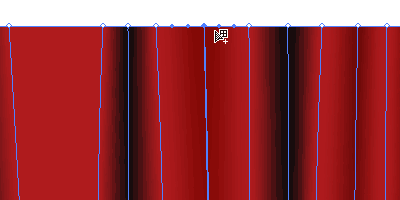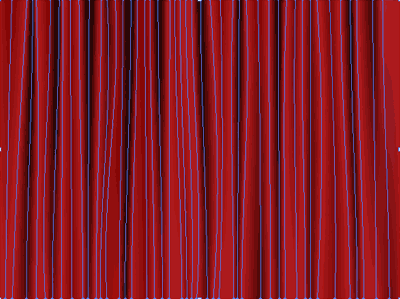
Let’s draw a nice awesome vector red curtain in this Illustrator tutorial. This lesson assumes that you already have a basic understanding on how the gradient mesh works. We will move on to create a realistic curtain using the gradient mesh. You can use this curtain effect for your movie or theaters related theme design.
1. Creating the skeleton
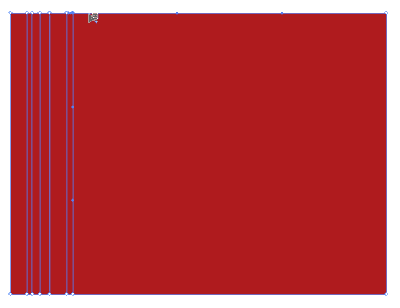
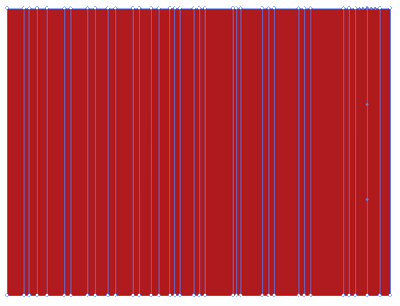
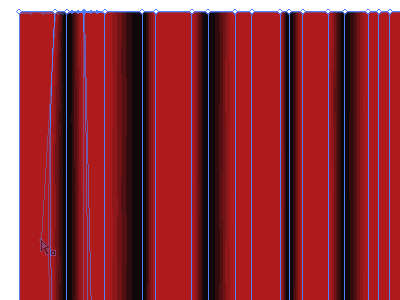
First, we create Rectangle and fill it with red. Select the Mesh Tool and start clicking along the edge of the rectangle. Creating 3 segments close together will give good results as we can simply change the middle segment to black for shadows.

2. Filling the shadows
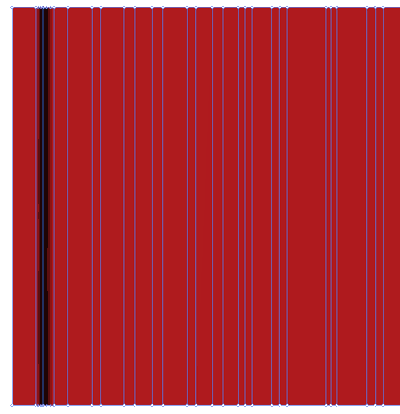
With the Direct Selection Tool, we select both the top and bottom points in the segments we want it to make it shadow. After that, fill the points with black. Do this to all the segments we want it to be in shadow.
3. Shaping the curtain
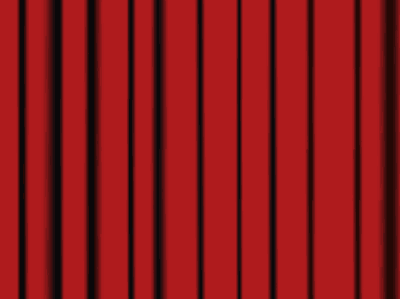
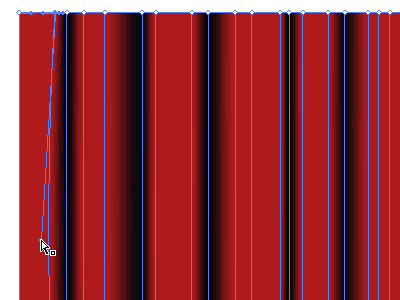
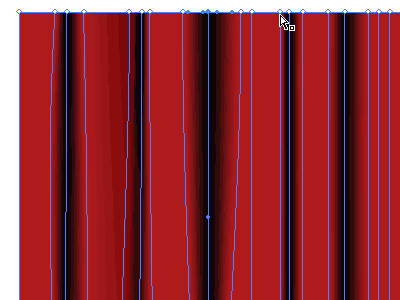
Now we can start shaping the curtain to give it some curves. Select the Direct Selection Tool and select the point we want to modify and move the anchor points to change it to curve lines. Other things you can do with the points is move them closer or further to other points by clicking the Right/Left Arrow Keys. A realistic fold normally starts narrow at the top and end wide at the bottom. Hence, we can use the arrow keys to shift the points closer or further away form each other.
4. Final touhup
To create more folds to the curtain, we can add new points with the Gradient Mesh Tool and fill it will a slightly dark tint. Do this until you are satisfied with your curtain. Below is the final skeleton of my curtain. Hope you guys have a great time creating your own curtain!
