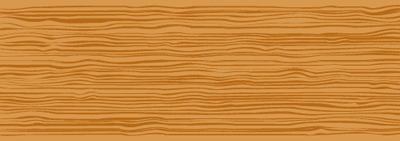
Drawing vector wood grain effect is pretty simple in Adobe Illustrator. Here is a quick Illustrator tutorial to create wood grain effect using the warp tools in illustrator. After this tutorial, you will be able to draw nice vector wood textures.
1. Creating the stripes
Select the Rectangle Tool, and draw a thin rectangle. Using the Selection Tool, Alt/Option drag it to create a instance at the bottom. Repeat this step by pressing Ctrl/Command+D to create a row of stripes.

2. Different stripe weights
Select all the rows of stripes then go to Object>Transform>Transform Each. Enter the values above and make sure the Random field is checked to give it a random height.

3. Natural stripe effect
Double click the Warp Tool and use the settings below. Now with the Warp Tool we brush through the row of lines in a horizontal direction. This will distort the stripes giving it a more natural look.


4. Giving it a Twirl
Next we select the Twirl Tool. Double click to change to the settings above. We need a medium sized brush to the twirl on the wood grain. With the Twirl tool, lightly click on different areas to give the stripes a twirl. Do not hold for too long as it will overly distort the stripes. You can change the brush size of the Twirl Tool by holding down Option+Shift /Alt+Shift.


4. Pucker it
Using the Pucker Tool, with the setting above. We pucker different sections of the stripes to make the stripes contract.


4. Touch up the wood grain
To make the stripes thinner, I select all the stripes and squash it using the Transform Tool.

5. Trim the edges
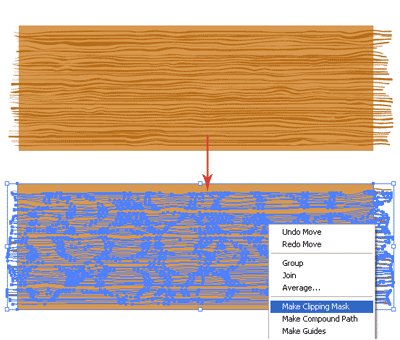
Select all the wood grain and fill it with dark brown. Draw a light brown rectangle and send it to the back. Copy the rectangle by pressing Ctrl/Command+C. Next, paste it to the front by pressing Ctrl/Command+F. Select all and right click to select Make Clipping Path. This will crop away the edges.

Heres the final wood texture.


